


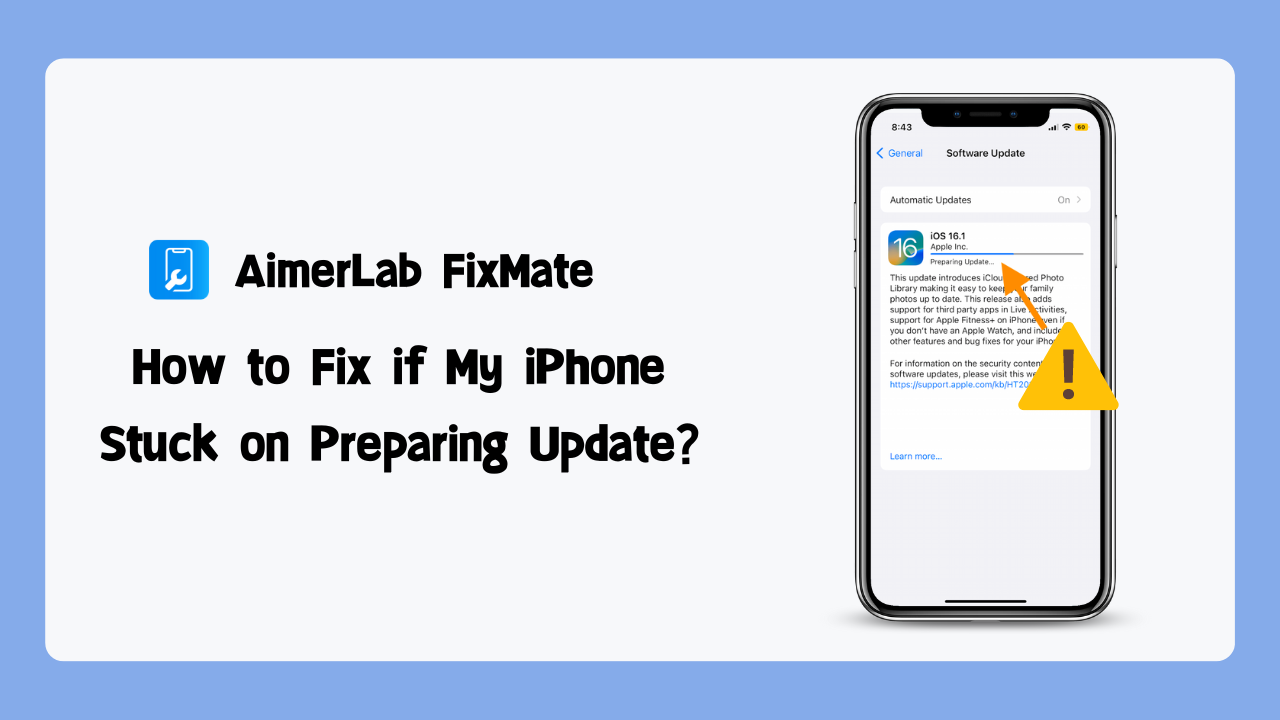
How to Fix if My iPhone Stuck on Preparing Update?
The iPhone is known for its regular software updates that bring new features, improvements, and security enhancements. However, sometimes during the update process, users may encounter an issue where their iPhone gets stuck on the “Preparing Update” screen. This frustrating situation can prevent you from accessing your device and installing the latest software. In this article, we will delve into what causes this problem and provide you with effective solutions to fix your iPhone when it gets stuck on the “Preparing Update” screen.
1. What does Stuck on “Preparing Update” mean?
When you initiate a software update on your iPhone, it goes through several stages, including “Preparing Update“. During this phase, the device is preparing the necessary files, performing system checks, and making preparations to install the update. Normally, this process takes a few minutes, but if your iPhone remains stuck on this screen for an extended period, it indicates a potential problem.
2. Why iPhone Stuck on “Preparing Update”?
Several factors can contribute to your iPhone being stuck on the “Preparing Update” screen. These include:
- Insufficient Storage Space: If your iPhone doesn’t have enough free storage space to accommodate the update, it can lead to issues during the installation process.
- Software Glitches: Sometimes, software glitches or conflicts within the operating system can disrupt the update process, causing your iPhone to get stuck on the “Preparing Update” screen.
- Poor Internet Connection: A weak or unstable internet connection can hinder the download and installation of the update, leading to the device being stuck on the preparation stage.
3. How to Fix if iPhone Stuck on “Preparing Update”?
Here are several effective methods to fix your iPhone when it gets stuck on the “Preparing Update” screen, allowing you to complete the update process smoothly.
- Restart Your iPhone: A simple restart can often resolve temporary software glitches. Press and hold the power button until the power-off slider appears, then slide to power off your iPhone. After it is completely turned off, press and hold the power button again until the Apple logo appears, indicating that your iPhone is restarting. This method can help clear any minor issues and allow the update process to proceed smoothly.
- Check Your Internet Connection: Ensure that your iPhone is connected to a stable and reliable Wi-Fi network. If you are using cellular data, make sure you have a strong signal. Consider restarting your Wi-Fi router or modem to refresh the connection. A stable internet connection is essential for a successful update, so verify that your network connection is not causing the issue.
- Free Up Storage Space: Insufficient storage space can hinder the update process. Go to the Settings app, tap on “General,” and select “iPhone Storage.” Review the storage usage and delete unnecessary apps, photos, videos, and other files to create more space. Transferring files to cloud storage or a computer can also help free up storage. Once you have sufficient space, try updating your iPhone again.
- Update Using iTunes: If the over-the-air update is not working, you can try updating your iPhone using iTunes. Connect your iPhone to a computer that has the most recent iTunes version installed.Open iTunes and select your device. Click on the “Summary” tab and choose “Check for Update.” If an update is available, click on “Download and Update” to initiate the update process through iTunes. Updating via iTunes uses a different mechanism and can bypass any issues encountered during the over-the-air update.
- Reset Network Settings: Resetting network settings can help resolve any network-related configuration issues that may be causing the update problem. Go to the Settings app, select “General,” and choose “Reset.” Tap on “Reset Network Settings” and confirm your decision. Keep in mind that this will delete any saved Wi-Fi passwords and other network settings. Afterward, reconnect to your Wi-Fi network and attempt the update again.
- Restore Your iPhone: If all else fails, you can try restoring your iPhone. This method erases all data and settings on your device, so it’s crucial to have a backup before proceeding. Connect your iPhone to a computer with iTunes or use Finder on a Mac running macOS Catalina or later. Choose “Restore iPhone” after selecting your device. Follow the steps on the screen to get your iPhone back to its original settings. After the restore process, you can set up your device as new or restore it from a backup. Restoring your iPhone can resolve persistent software issues causing the update problem.
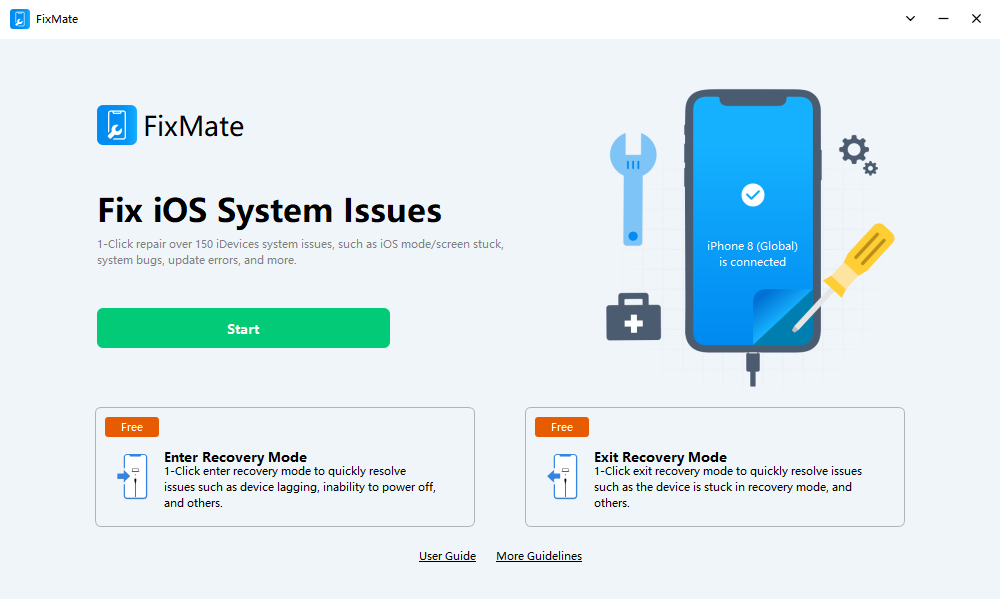
4. How to fix iPhone Stuck on Preparing Update with 1-Click?
If you’re looking for the quickest solution to the iPhone stuck updating issue, then AimerLab FixMate maybe a good choice for you. It’s a professional iOS system recovery software, which provides a simple and effective solution to overcome common and serious iOS update-related problems, allowing you to successfully update your iPhone. With FixMate, all iOS system problems can be quickly fixed with just one click.
Let’s check the process of fixing your iPhone stuck on preparing update using AimerLab FixMate:
Step 1: Download AimerLab FixMate on your computer, and follow the on-screen instructions to install it.
Step 2: Launch AimerLab FixMate, and use a compatible USB cable to connect your iPhone to the computer. Ensure that FixMate recognizes your device by displaying the device information on the software’s interface. Click “Start” button to begin fixing your iPhone issues.
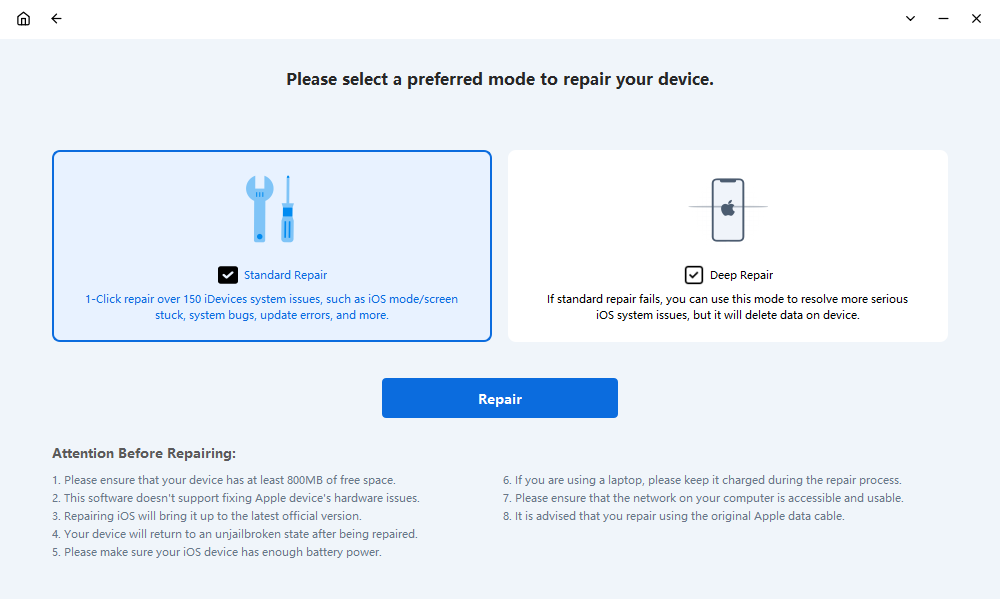
Step 3: Choose a preferred mode to repair your iPhone. If your iPhone is stuck updating, “Standard Repair” can help you rapidly fix it without losing any data.
Step 4: Choose the firmware version that you want to download, click “Repair” and FixMate will start downloading the firmware package.
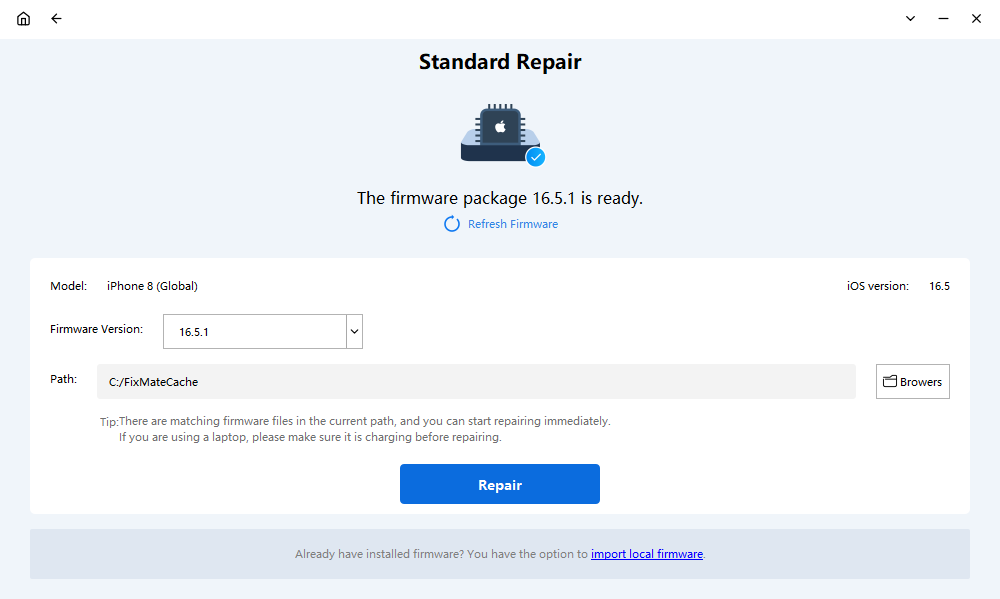
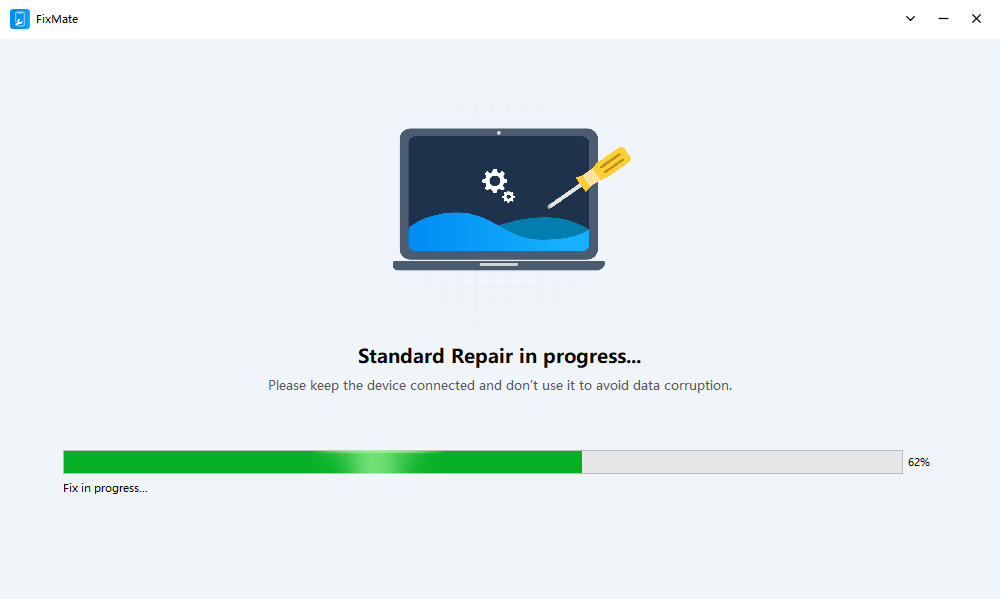
Step 5: Once the download is completed, FixMate will start reparing your iPhone. You need to keep your device connected during this time.
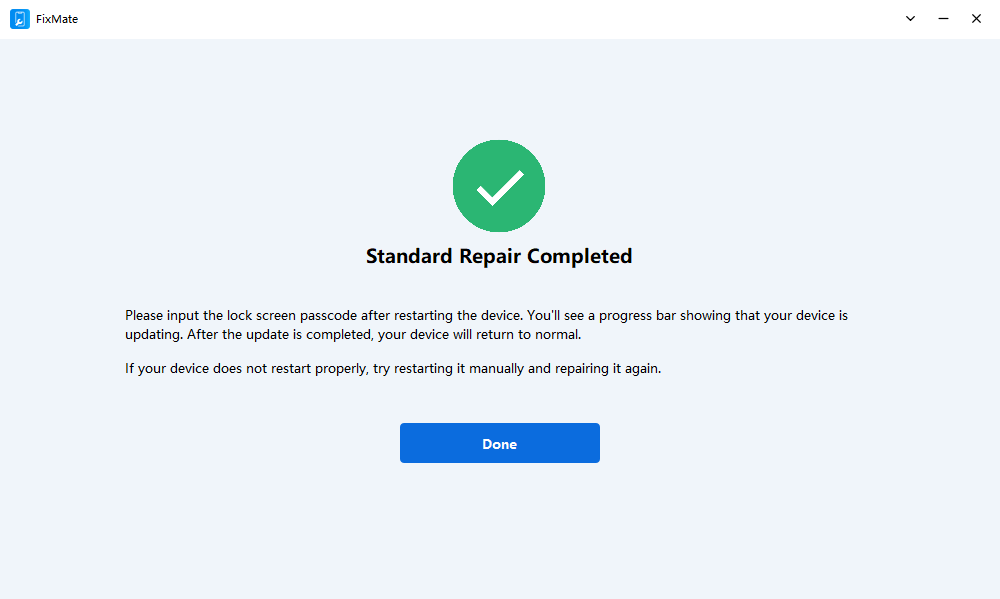
Step 6: When repair completed, your iPhone will be restarted automatically and will no longer be stuck on the preparing update screen.
5. Conclusion
Experiencing your iPhone stuck on the preparing update screen can be frustrating, but with the methods mentioned in this article, you can troubleshoot and fix the issue. Remember to restart your iPhone, check your internet connection, free up storage space, and consider updating via iTunes. You can also use AimerLab FixMate to repair stuck on the preparing update in the shortest possible time if need. Do not hesitate to ask for assistance with FixMate, as it can quickly solve all iOS issues.
- How to Resolve iPhone Speaker Grayed Out?
- How to Fix iPhone Could Not Be Restored Error 9?
- iPhone Bluetooth Keeps Disconnecting? Try These Solutions
- How to Fix iPhone 14 Pro Max Screen Green Flickering?
- How to Resolve iPhone Switched to Incompatible eSIM Stuck in Boot Loop?
- How to Resolve “iPhone Not Activated – Contact Your Carrier”?