


iOS 17 Location Services Update: How to Change Location on iOS 17?
With each new iOS update, Apple introduces new features and enhancements to provide a better user experience. In iOS 17, the focus on location services has taken a significant leap forward, offering users more control and convenience than ever before. In this comprehensive guide, we will delve into the latest updates in iOS 17 location services and explore how to change your location on iOS 17.
1. iOS 17 Location Services Update
Apple has always prioritized user privacy when it comes to location services. iOS 17 continues this commitment by introducing several new features and improvements:
- Introducing a Fresh Approach to Location Sharing and Viewing: Experience an innovative way to share and access location information. You can effortlessly share your location or request your friend’s whereabouts using the plus button. When someone shares their location with you, you can conveniently view it within your ongoing conversation.
- Unlock Offline Exploration with Downloadable Maps: Now, you have the flexibility to download maps directly to your iPhone for offline use. By saving a specific map area, you can explore it even without an internet connection. Access vital details such as business hours and ratings directly on place cards. Furthermore, enjoy step-by-step directions for various modes of transportation, including driving, walking, cycling, and public transit.
- Elevated Sharing Capabilities with Find My: Discover an enhanced level of collaboration through Find My. Share your AirTag or Find My network accessories with a group of up to five individuals. This feature enables everyone in the group to utilize Precision Finding and trigger a sound to accurately pinpoint the location of a shared AirTag when it’s in close proximity.
2. How to Change Location on iOS 17
Method 1: Changing Location on iOS 17 Using Built-in Settings
iOS 17 maintains its robust set of location settings, allowing you to customize location access for apps and system services. Here’s how to make use of these settings to change location on iOS 17:
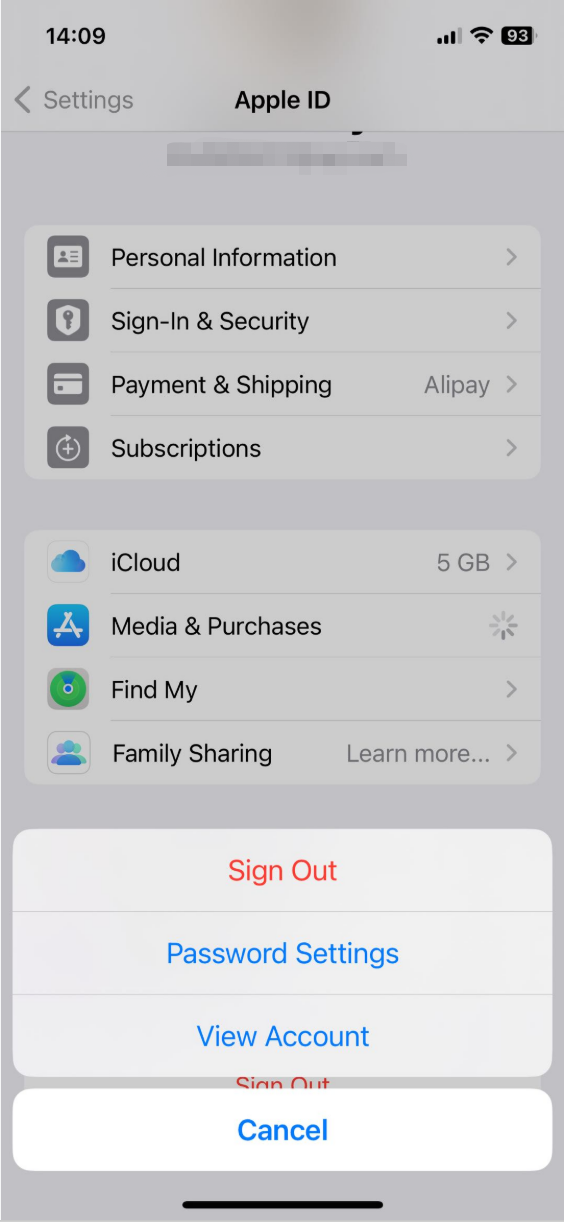
Step 1:Navigate to the “Settings” app on your iOS device, then proceed to your “Apple ID” settings, followed by “Media & Purchases“, and finally select “View Account“.
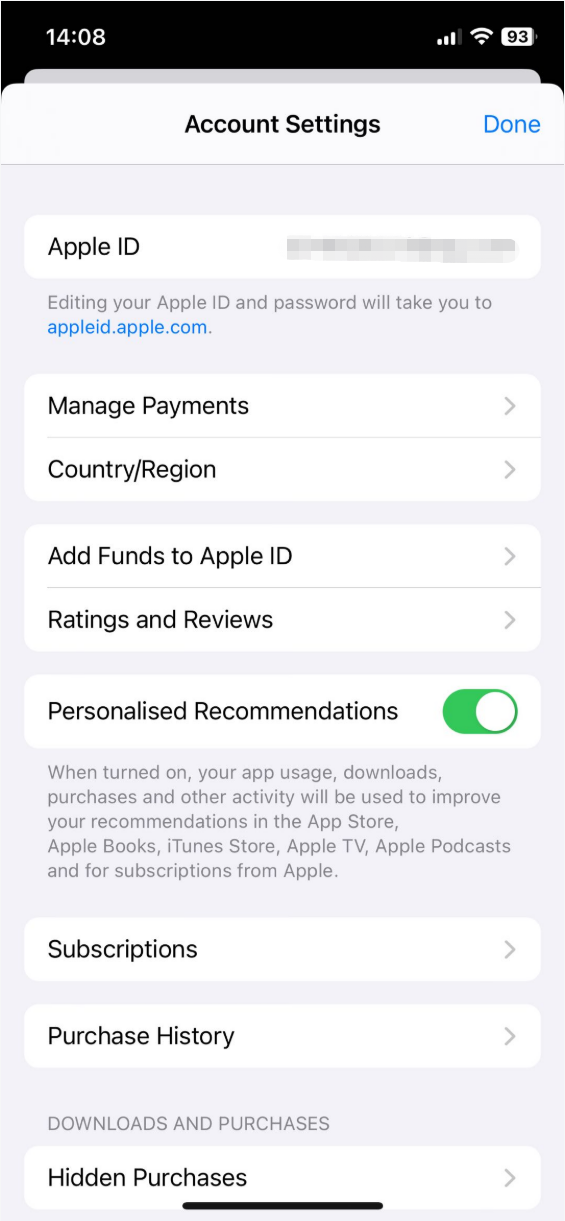
Step 2: Modify your country or region by tapping on “Country/Region” and making a selection from the available location choices.
Method 2: Changing Location Using VPNs on iOS 17
Virtual Private Networks (VPNs) remain a powerful tool for altering your virtual location on iOS 17. Here’s how to use a VPN:
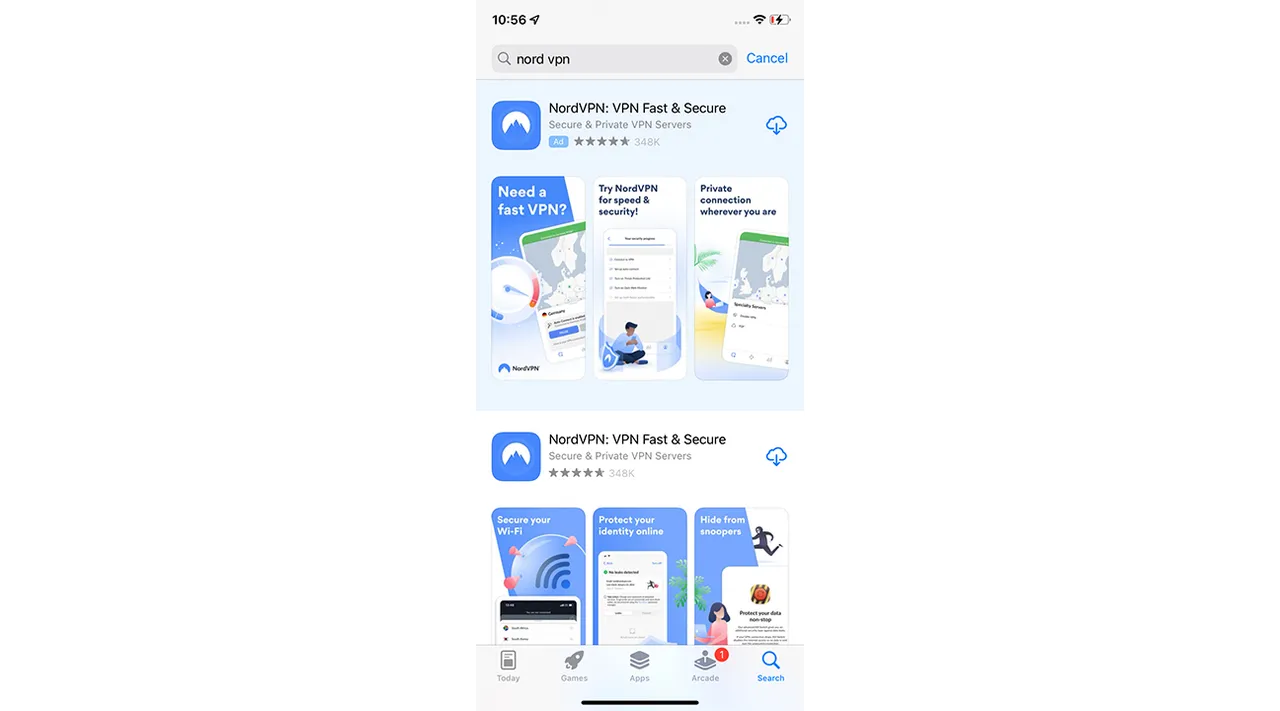
Step 1: Find and download a reputable VPN app from the App Store, such as ExpressVPN or NordVPN. After installing the app, follow the setup instructions to create an account or log in if necessary.
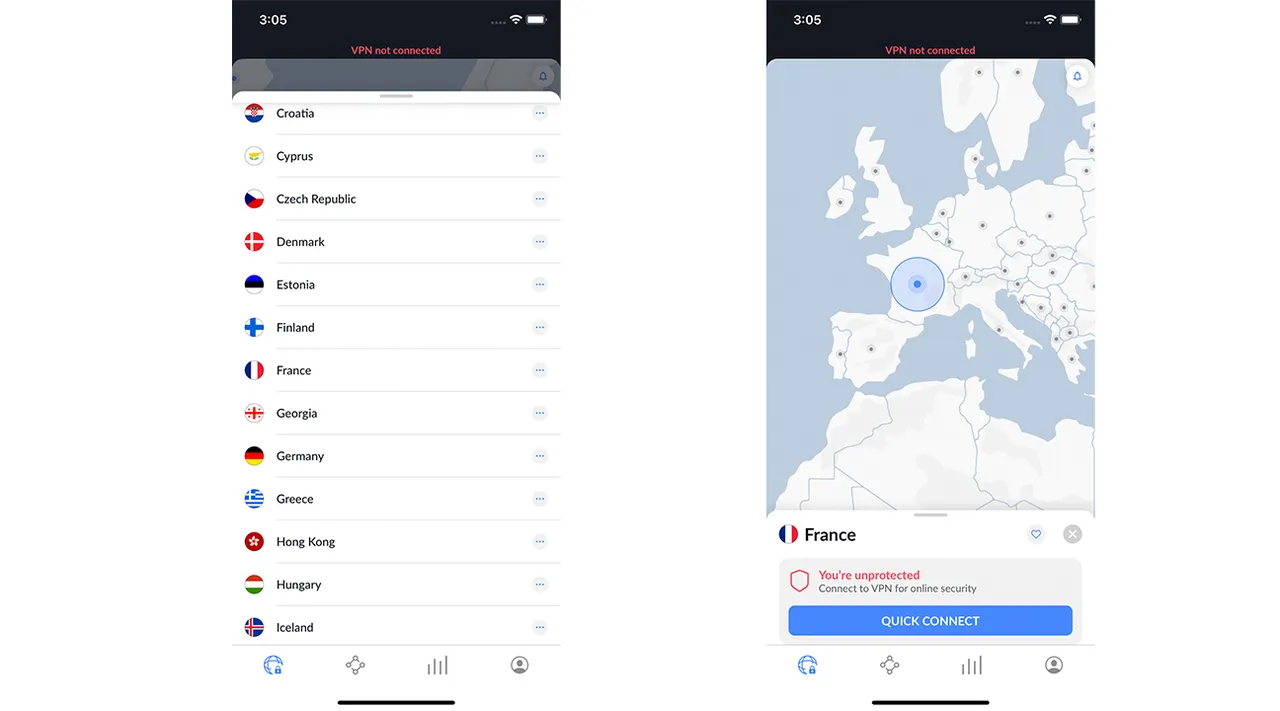
Step 2: Once configured, choose a server location from the VPN app, and click the “Quick Connect” button. Your IP address will change to match the server location, effectively altering your virtual location. You can switch between server locations as desired to change your apparent location.
Method 3: Changing Location Using AimerLab MobiGo on iOS 17
If you prefer a range of options to tailor your location experience on iOS 17, then AimerLab MobiGo is good choice for you. AimerLab MobiGo is an effective location spoofet designed to fake your iOS device’s location to anywhere in the world without jailbreaking. Let’s dive into MobiGo’s main features:
- Work with all LBS apps like Pokémon Go, Facebook, Tinder, Find My, Google Maps, etc.
- Spoof location to anywhere as you like.
- Customize routes and adjust speeds to simulate natural movements.
- Import GPX file to quickly start a same route.
- Use joystick to control yur moving direction.
- Compatible with almost iOS/Android devices and versions, including iOS 17 and Android 14.
Now let’s see how to use MobiGo to change location on iOS 17 with your Mac computer:
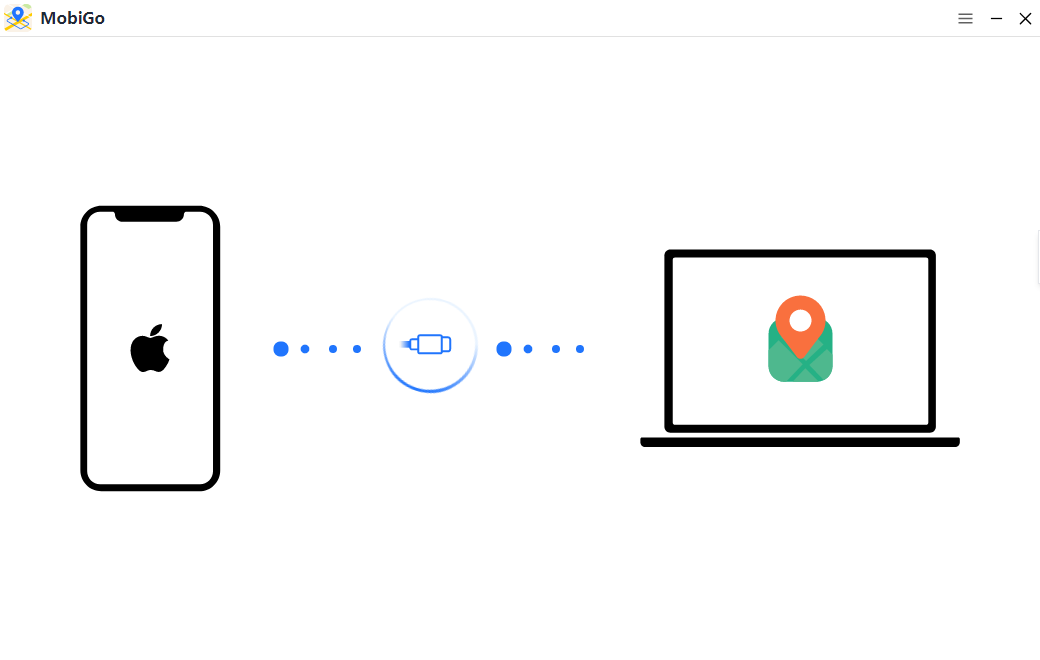
Step 1: Download and install AimerLab MobiGo on your Mac, launch it, and click “Get Started” to begin changing your iOS 17 location.
Step 2: Connect your iOS 17 device to your computer using a USB cable.
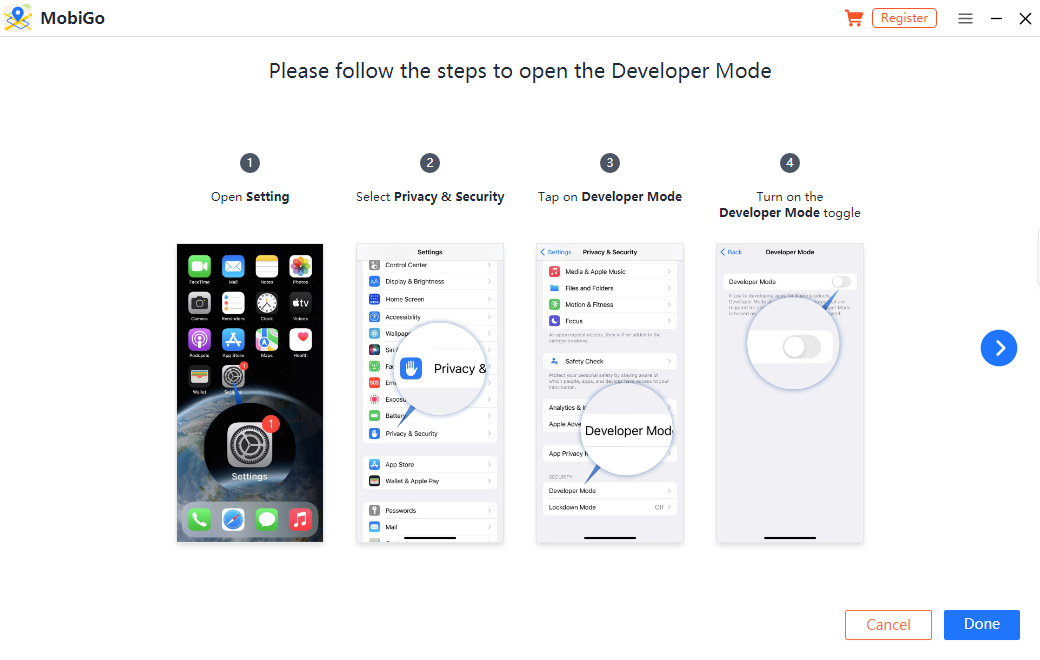
Step 3: You will be asked to turn on the “Developer Mode” on your iOS 17 device, follow the instruction to trust the computer and turn on this mode.
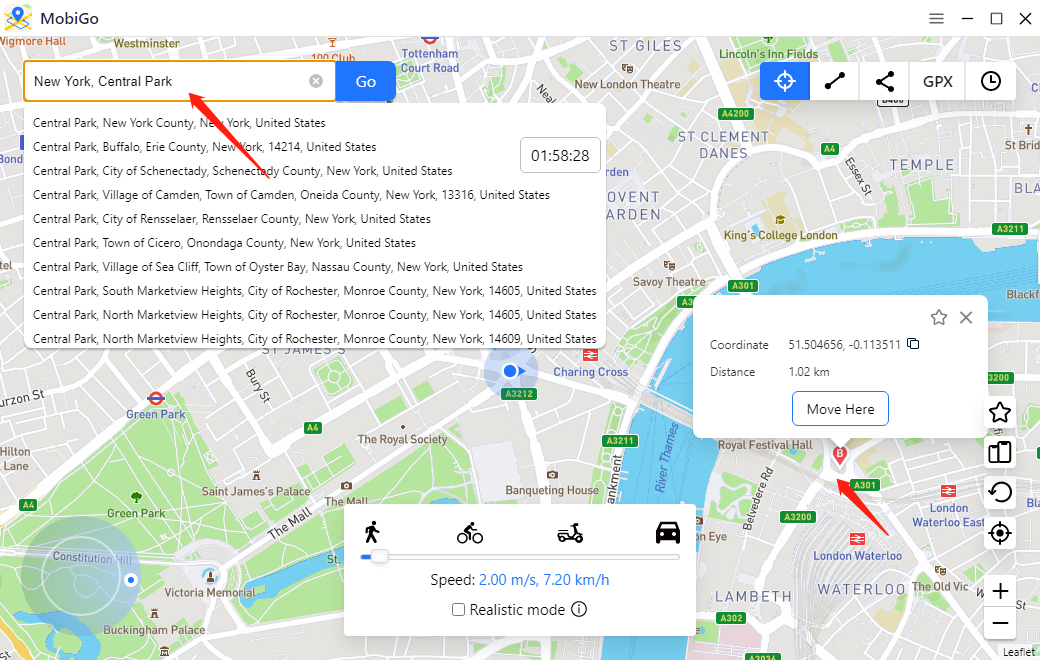
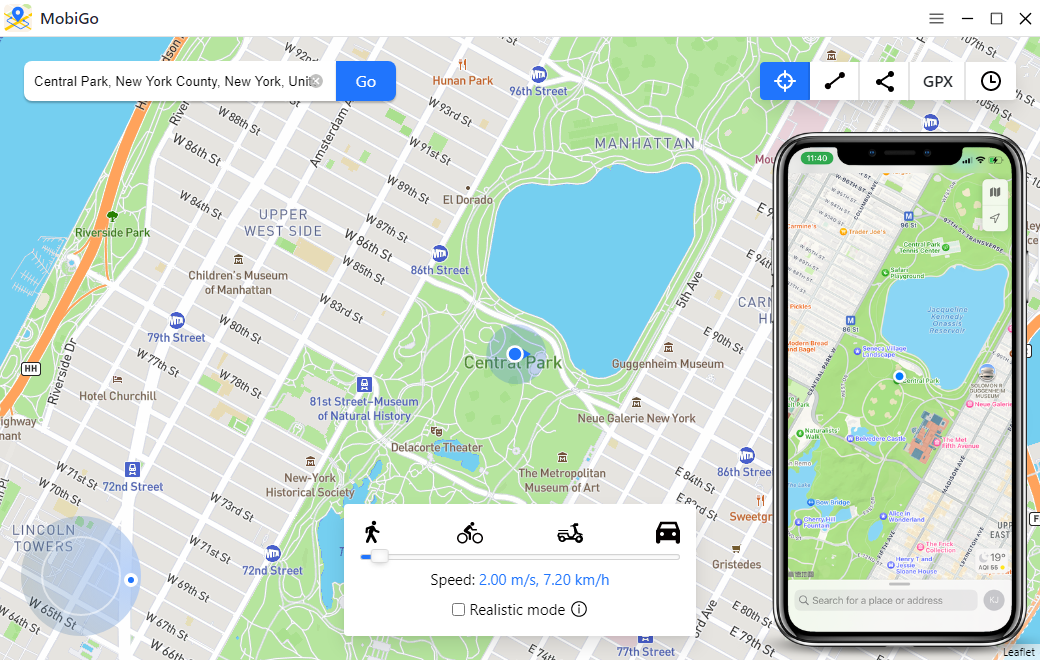
Step 4: After turning on “Developer Mode“, you current location will be displayed under the “Teleport Mode” within the MobiGo interface. To set a custom location, you can enter an address in the search bar or directly click on the map to choose a desired spot.
Step 5: After selecting the location, click the “Move Here” button to change your device’s location to the chosen spot.
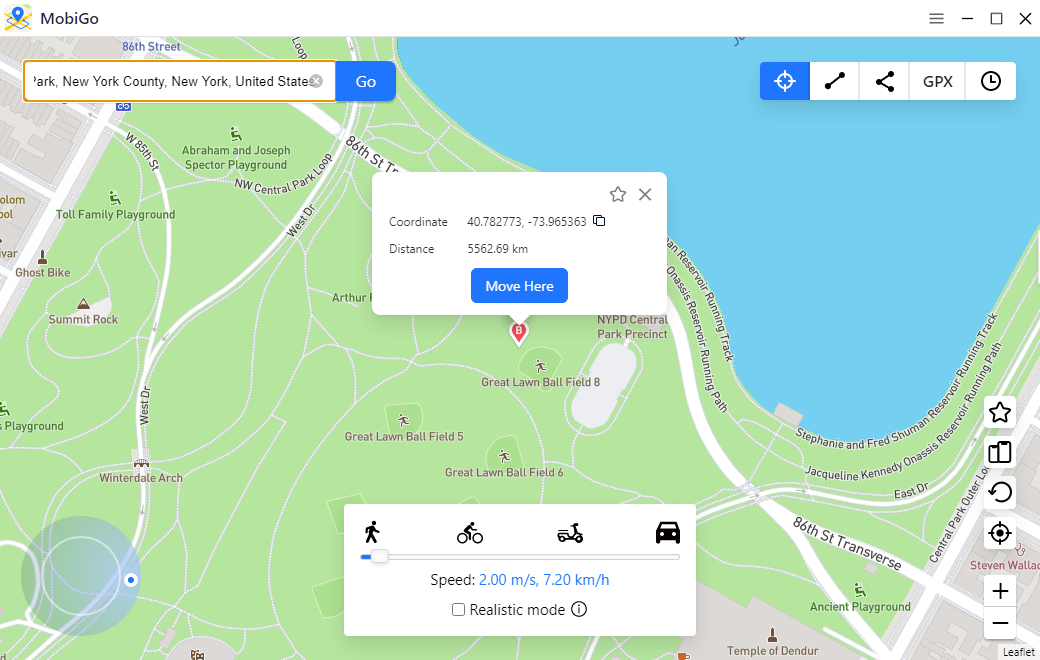
Step 6: Open any location-based on app on you iOS 17 to check yur new fake location.
3. Conclusion
Changing or updating location settings on iOS 17 is a simple process, with several options available to users. The most common option is to use the built-in Location Settings, but users can also use VPNs to change location on iOS 17. If you prefer to change iOS 17 location in a faster way, it’s recommended to use the AimerLab MobiGo to teleport you to anywhere in the world as yu desire without jailbreaking your iOS device, suggest downloading MobiGo and starting your location.
- How to Fix iPhone File Stuck on Waiting?
- How to Resolve iPhone Speaker Grayed Out?
- How to Fix iPhone Could Not Be Restored Error 9?
- iPhone Bluetooth Keeps Disconnecting? Try These Solutions
- How to Fix iPhone 14 Pro Max Screen Green Flickering?
- How to Resolve iPhone Switched to Incompatible eSIM Stuck in Boot Loop?