How to Check iPhone Location History by Date?
In the digital age, smartphones, particularly the iPhone, have become an integral part of our lives, assisting us in various aspects, including navigation and location tracking. Understanding how to check iPhone location history, delete it, and explore advanced location manipulation can enhance both privacy and the user experience. In this comprehensive guide, we will explore how to check your iPhone location history by date, delete this data for privacy reasons, and introduce an innovative solution that enables one-click hiding of your iPhone location.
1. How to Check iPhone Location History by Date?
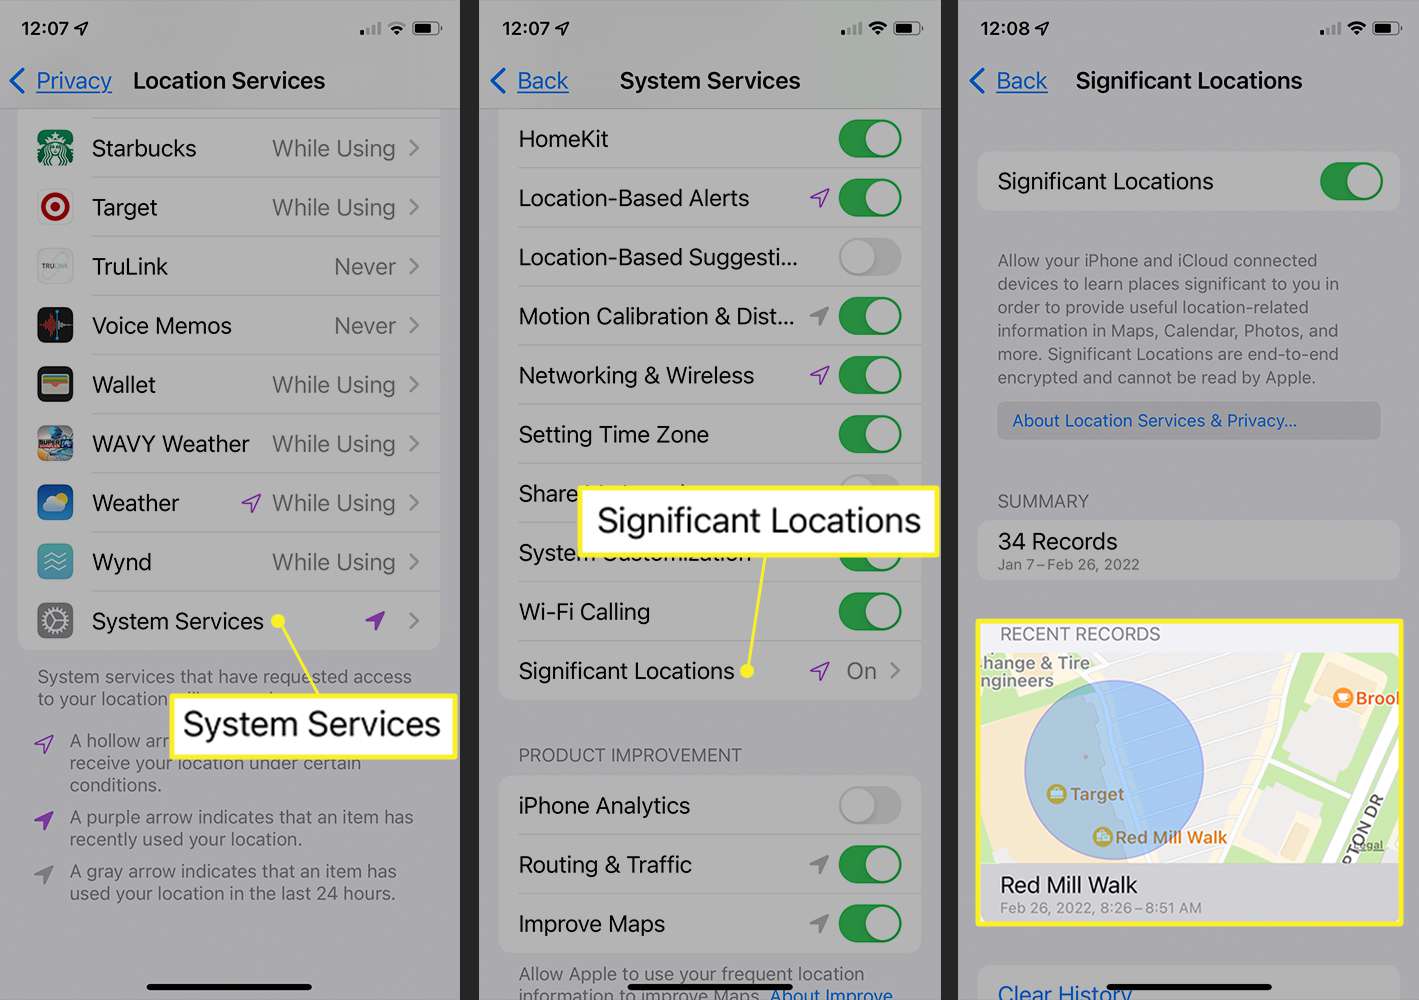
The iPhone’s location history feature is a valuable tool for users who want to review their past movements. To access your iPhone’s location history by date, follow these simple steps:
- On your iPhone, open the “Settings” app, scroll down, and tap “Privacy”.
- Select “Location Services,” then scroll down to “System Services”.
- Look for “Significant Locations” and tap on it, then authenticate using Face ID, Touch ID, or your device passcode.
- Inside “Significant Locations,” you’ll find a list of locations along with corresponding dates and times, documenting your device’s movements.
This feature provides users with a detailed record of where their iPhone has been, which can be beneficial for various reasons, including tracking travel history or simply understanding app behavior.
2. iPhone Significant Locations History Not Showing?
If your iPhone’s Significant Locations history is not showing, there are several potential reasons for this issue. To address the issue, use the following troubleshooting steps:
-
Ensure Location Services is Enabled:
- Open the “Settings” app on your iPhone.
- Go to “Privacy” and select “Location Services.”
- Make sure that Location Services is turned on at the top of the screen.
-
Check System Services:
- Within the “Location Services” settings, scroll down and tap on “System Services.”
- Confirm that “Significant Locations” is enabled. If it’s off, turn it on.
-
Authentication:
- Accessing Significant Locations may require authentication. Go back to “Settings” > “Privacy” > “Location Services” > “System Services” > “Significant Locations.”
- If prompted, authenticate using Face ID, Touch ID, or your device passcode.
-
Location History:
- Ensure that your iPhone has recorded location history. Click on “Settings” > “Privacy” > “Location Services” > “System Services” > “Significant Locations.”
- If there’s no history, it’s possible that your iPhone hasn’t been to many “significant” locations recently.
-
Frequent Locations:
- Significant Locations history is also labeled as “Frequent Locations” on some devices. Check if your iPhone has this option instead.
-
Restart Your iPhone:
- Sometimes, a simple restart can resolve minor glitches. Turn off your iPhone, wait a few seconds, and then restart it.
-
Update iOS:
- Check to see if your iPhone is running the most recent version of iOS. Outdated software can sometimes cause issues. Go to “Settings” > “General” > “Software Update” to check for updates.
-
Reset Location and Privacy Settings:
- If the issue persists, you can try resetting your location and privacy settings. Go to “Settings” > “General” > “Reset” > “Reset Location & Privacy.” Keep in mind that this will reset all location and privacy settings to their defaults.
3. How to Delete Location History on iPhone?
If you wish to clear your location history for privacy reasons or a fresh start, the iPhone provides a straightforward method to delete this data:
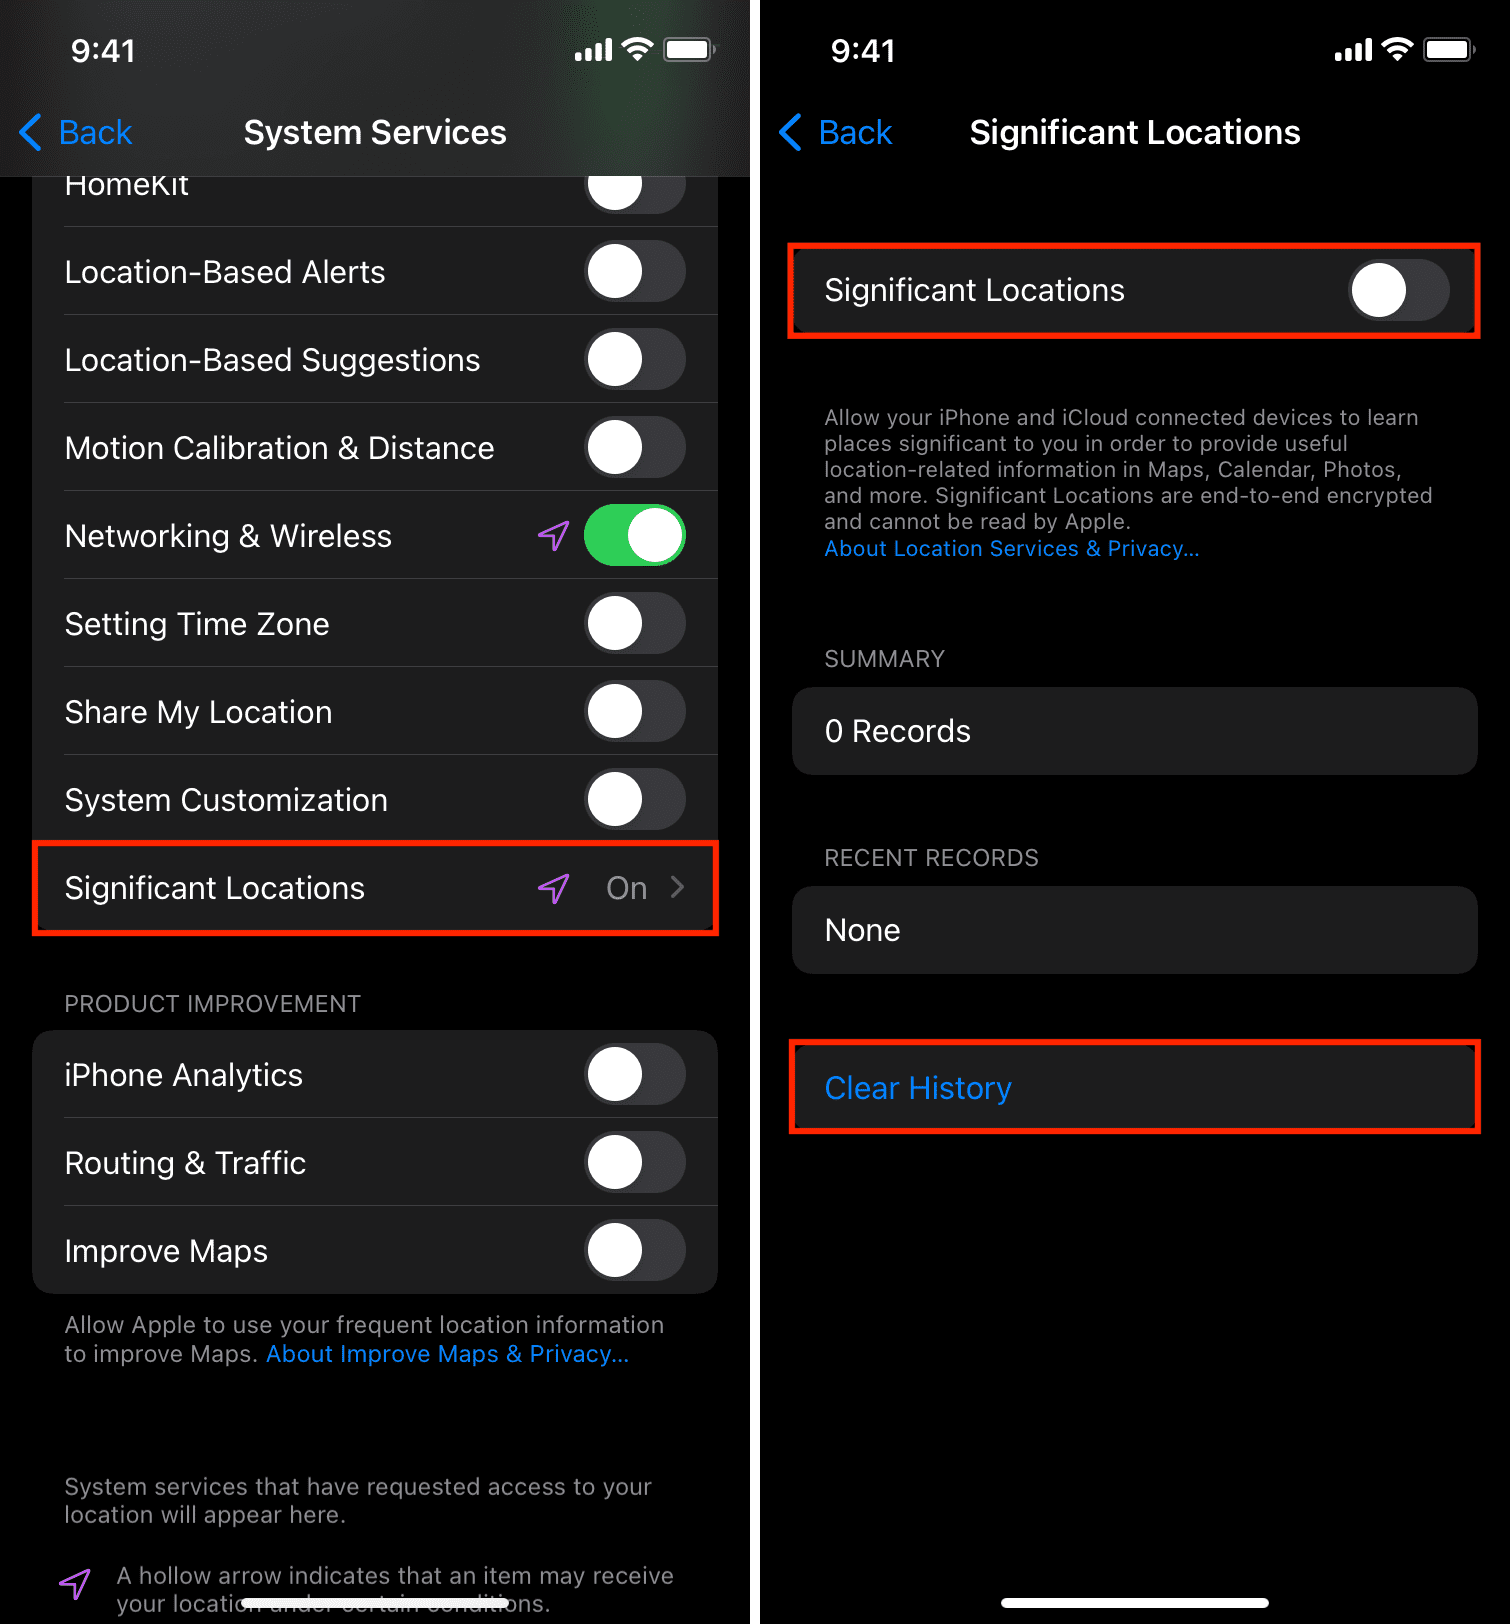
- Open the “Settings” app on your iPhone, then navigate to “Privacy” and select “Location Services.”
- Scroll down and tap on “System Services”, then find and tap on “Significant Locations.”
- Authenticate if prompted. Inside “Significant Locations,” you can view and delete specific entries by tapping on them and selecting “Clear History”.
Alternatively, you can choose to disable “Location Services” entirely or manage the settings for individual apps to control the collection of location data.
4. Bonus: One-click Hide iPhone Location with AimerLab MobiGo
For those seeking instant and effortless control over their iPhone’s location visibility, AimerLab MobiGo provides a powerful solution. With a one-click hide feature, AimerLab MobiGo lets you instantly change your iPhone’s location to anywhere in the world as you desire. MobiGo’s one-click hide feature is especially useful in situations where you want to protect your privacy quickly and effortlessly. It’s an ideal solution for those who value on-demand control over their location data. MobiGo works well with all location-based on apps, like Find My, Maps, Facebook, Twitter, Pokemon Go and other apps. MobiGo is conpatibal with all Android versions and almost all iOS versions, including the latest iOS 17.
Follow these steps to one-click hide your iPhone location with AimerLab MobiGo:
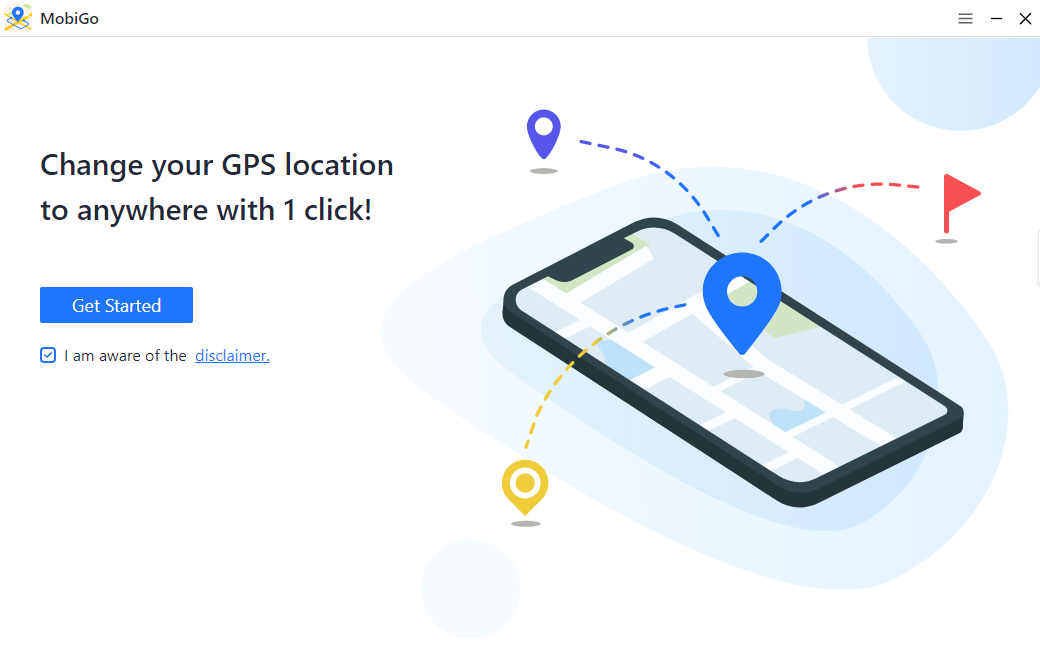
Step 1: Download and install AimerLab MobiGo on your computer by clicking the download button below.Step 2: Launch MobiGo, click “Get Started” button and connect your iPhone to the computer using a USB cable.
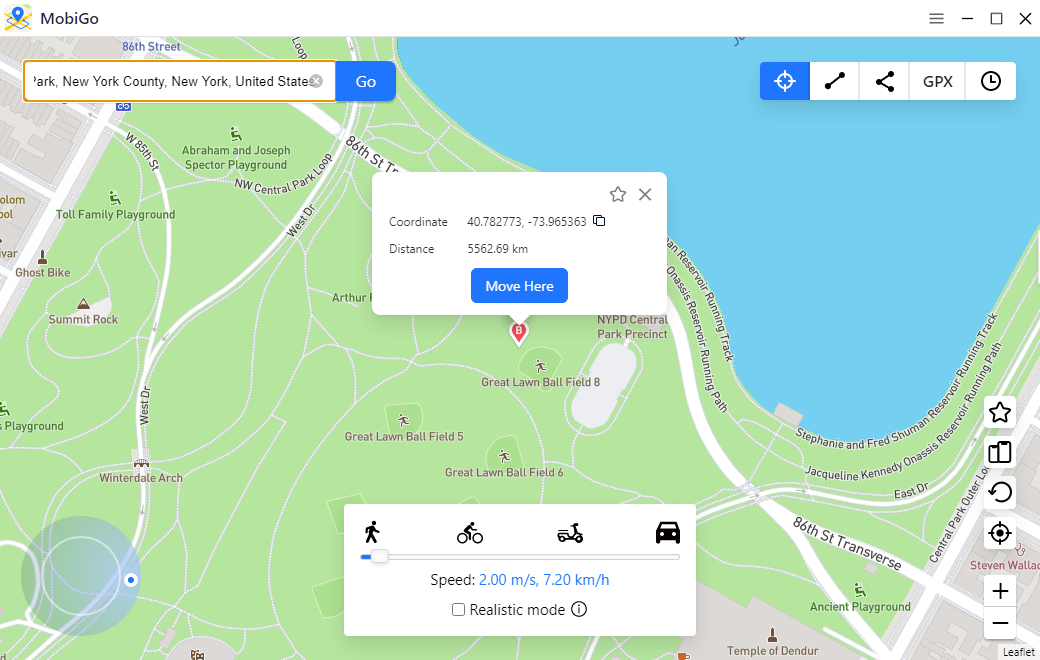
Step 3: After connecting to the computer, your current iPhone location will be displayed in MobiGo’s “Teleport Mode“. You can either use the search bar or the map to select a fake location where you want to hide your iPhone.
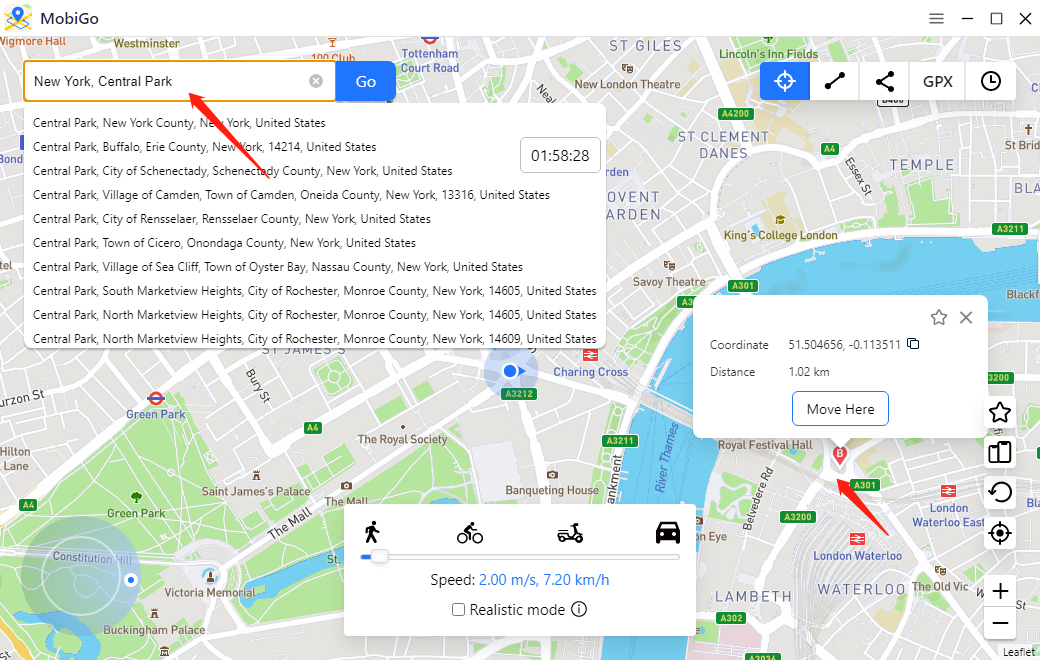
Step 4: Once the location is selected, click on “Move Here” to instantly change your iPhone’s location.
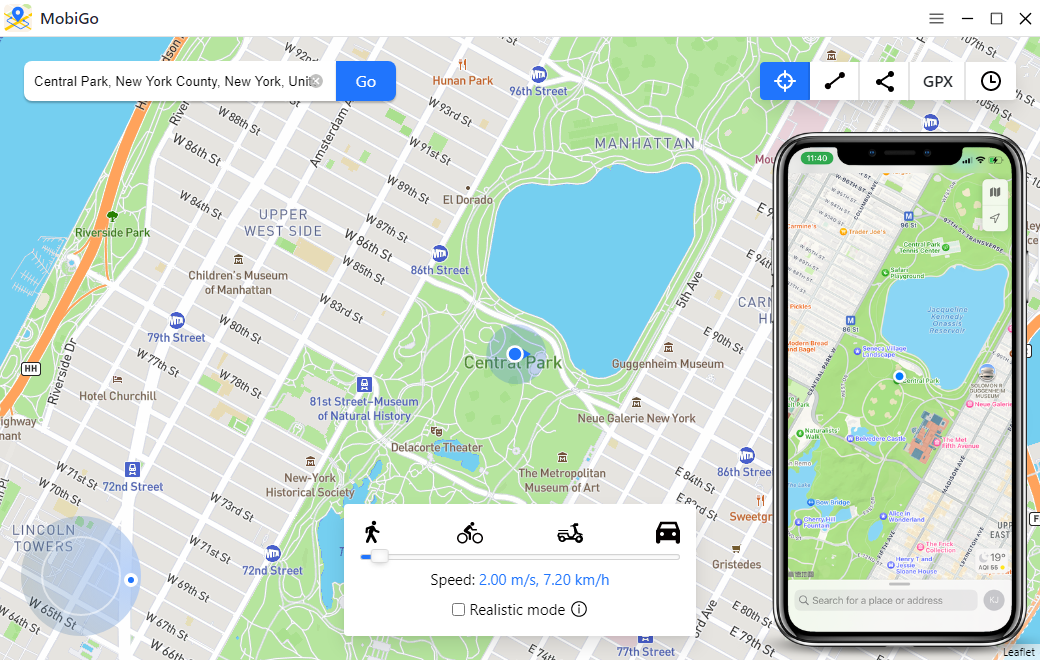
Step 5: When the process is complete, you can open any location app on your iPhone like Find My to check your new location.
Conclusion
Effectively managing your iPhone’s location settings is crucial for maintaining privacy, understanding your device’s behavior, and ensuring a secure digital experience. The iPhone provides built-in tools for checking and deleting location history, offering users control over their data. For those seeking a more convenient and instant solution, AimerLab MobiGo‘s one-click hide feature provides a powerful and user-friendly option. Suggest downloading MobiGo to change your iPhone location and protect your online location privacy!
- How to Fix Face ID Not Working on iOS 18?
- How to Fix iPhone Stuck at 1 Percent?
- How to Resolve iPhone Transfer Stuck on Signing In?
- How to Pause Life360 Without Anyone Knowing on iPhone?
- How to Resolve iPhone Keeps Disconnecting from WiFi?
- [Resolved] Transferring Data to New iPhone Stuck on “Time Remaining Estimating”


