


What is Pokemon Go Egg Hatching Widget and How to Add it?
In the dynamic world of Pokemon Go, where trainers are constantly seeking ways to enhance their gaming experience, the Egg Hatching Widget emerges as a fascinating feature. This article aims to explore what the Pokemon Go Egg Hatching Widget is, provide a step-by-step guide on how to add it to your gameplay, and even offer a bonus tip for those looking to maximize their egg-hatching potential by changing their Pokemon Go location.
1. What is the Pokemon Go Egg Hatching Widget?
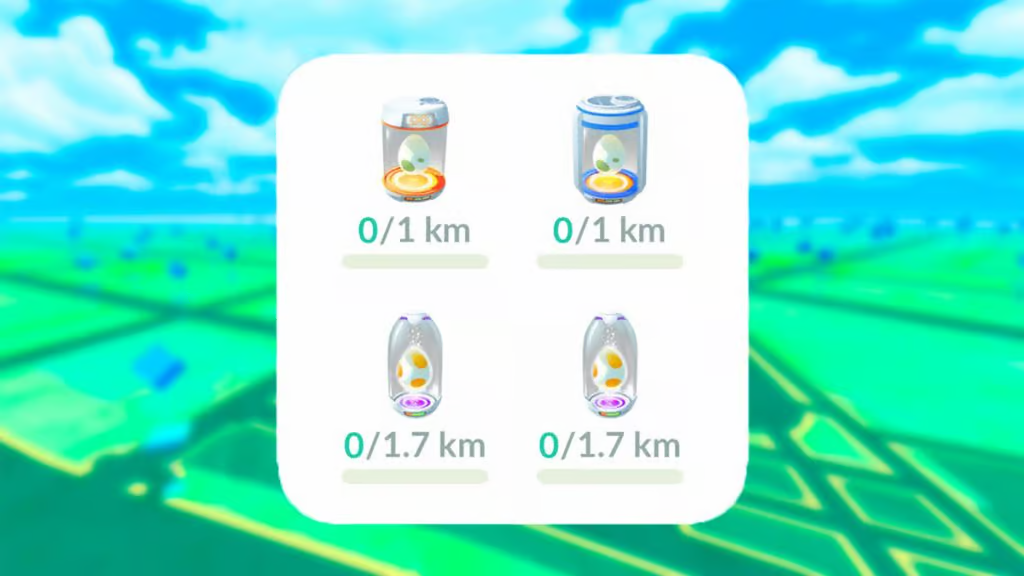
The Egg Hatching Widget in Pokemon Go is a handy tool that provides players with real-time information about their egg-hatching progress. It appears on the game screen and displays key details, such as the distance traveled and the remaining distance needed to hatch an egg. This widget aims to make the egg-hatching process more interactive and engaging for players.
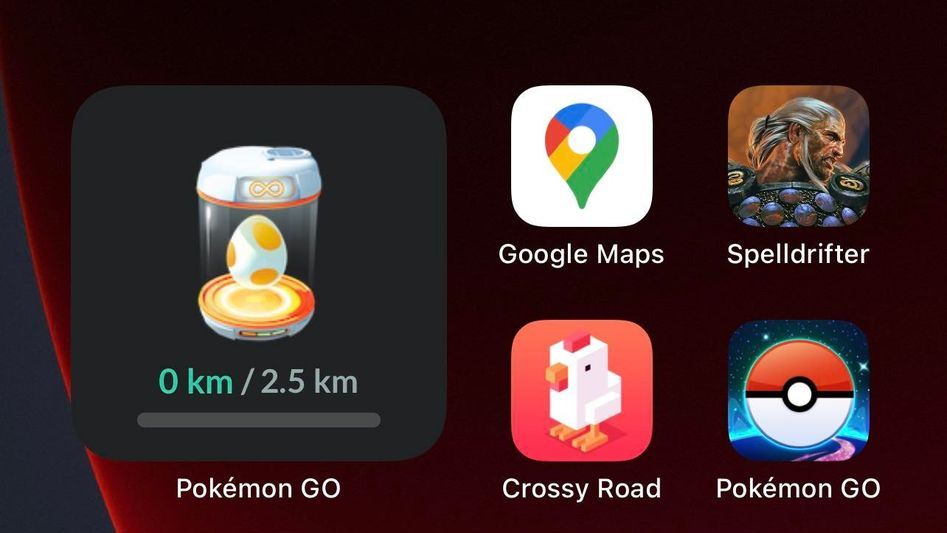
2. How to Add Pokemon Go Egg Hatching Widget to Your Devices?
Adding the Egg Hatching Widget to your Pokemon Go interface is a straightforward process. The Egg Hatching Widget is available for both iOS and Android devices. However, make sure you have the latest version of Pokemon Go installed on your device to access this feature.
Here’s a detailed guide for both iOS and Android devices:
On iOS devices:
- On your Home Screen, press and hold either a widget or an empty space until the apps start jiggling.
- Click the Add button located in the upper-left corner.
- Choose the Pokemon GO widget and then tap on Add Widget.
- Tap Done to complete the process
On Android devices:
- On the Home screen, press and hold on an empty space.
- Select Widgets and hold down on the Pokemon GO widget; you’ll see images of your Home screens.
- Slide the widget to your desired location and release your finger to place it.
3. Tips to enhance your Pokemon Go egg-catching experience
Catching Pokemon Go eggs is an essential aspect of the game, and optimizing your egg-catching strategy can lead to exciting rewards. Here are some tips to enhance your Pokemon Go egg-catching experience:
- Spin PokeStops and Gyms: Visit these locations to spin their discs and collect eggs.
- Prioritize 10km Eggs: Focus on collecting 10km eggs for rarer Pokemon.
- Use Incubators Efficiently: Use incubators strategically, especially for 2km eggs.
- Hatch Eggs Simultaneously: Utilize multiple incubators to hatch eggs simultaneously.
- Enable Adventure Sync: Track steps even when the app is closed for efficient egg hatching.
- Utilize Super Incubators: Speed up hatching with super incubators, especially for 10km eggs.
- Coordinate with Events: Take advantage of special events for increased egg rewards.
- Strategize for Egg Types: Be mindful of egg distances for specific Pokemon species.
- Check Egg Contents: Preview egg contents before incubating to prioritize hatching.
- Participate in Raids and Research Tasks: Engage in these activities for additional egg rewards.
- Stay Active in the Community: Stay informed about events and tips from the Pokemon Go community.
4. Bonus: One-click Change Pokemon Go Location to Catch More Eggs
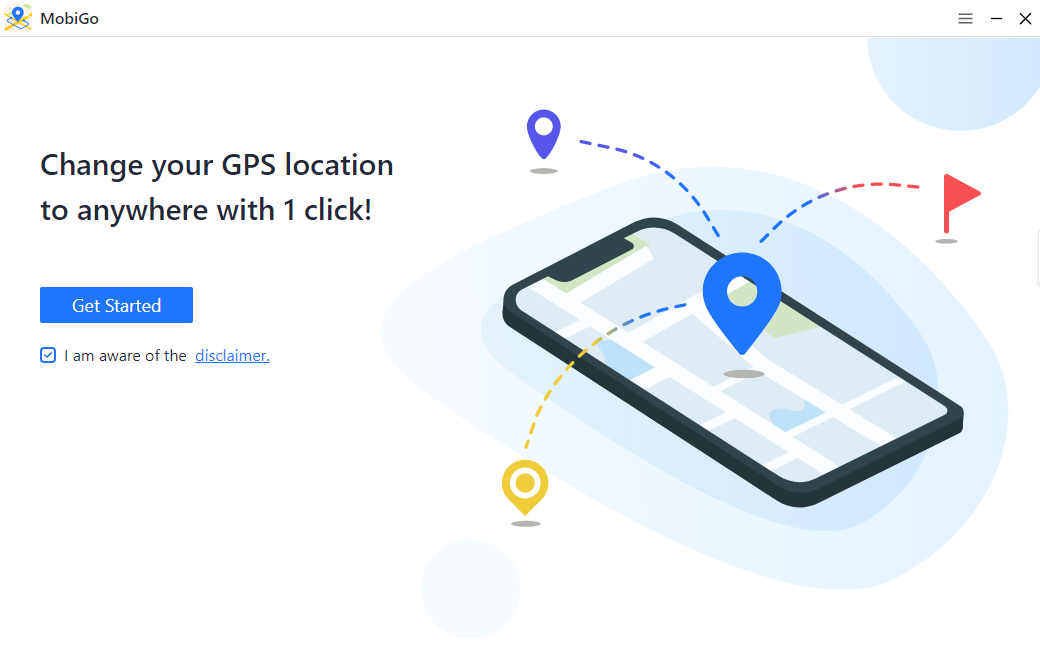
For iOS players looking to maximize their egg hatching potential, changing their Pokemon Go location can be a strategic move. AimerLab MobiGo is a location spoofer that allows users to alter their GPS location, providing them with the flexibility to explore different in-game locations without physically moving. It works well on almost all iOS devices and versions, including the latest iOS 17. Besides Pokemon Go, MobiGo is also compatible with any other location-based on apps like Find My, Google Maps, Facebook, Tinder, Tumblr, etc.
Here’s how you can use AimerLab MobiGo to change your Pokemon Go location:
Step 1: Start by downloading and installing AimerLab MobiGo on your computer (MobiGo is compatible with both Windows and Mac operating systems.)
Step 2: Launch MobiGo, and click the “Get Started” button to continue. Ensure that MobiGo recognizes your iOS device and connects it to your computer using a USB cable.
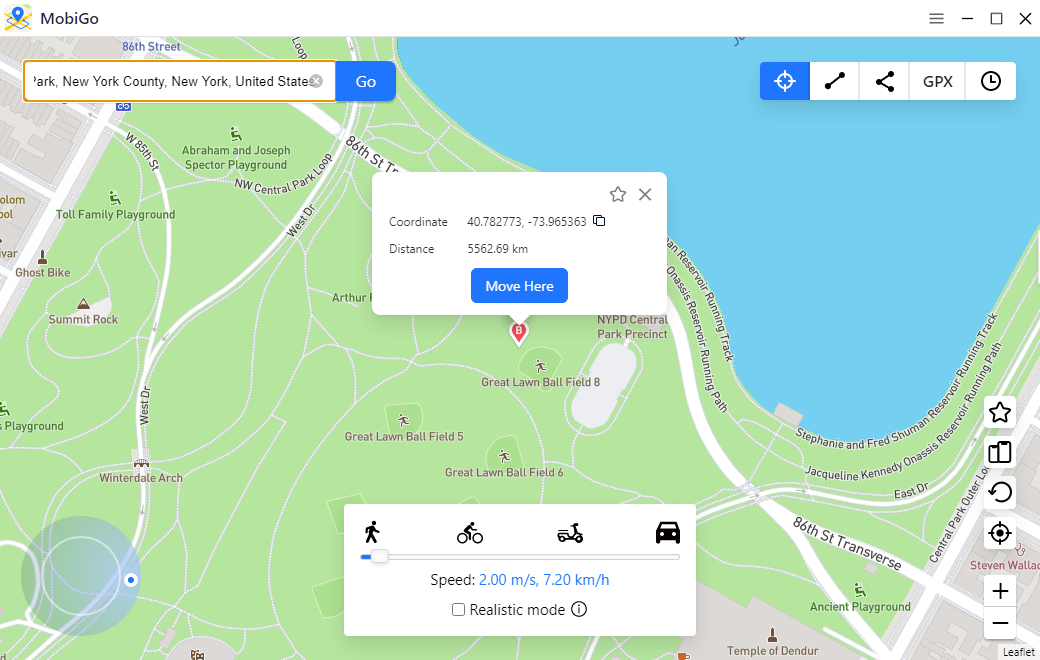
Step 3: Within MobiGo’s “Teleport Mode“, click on the map or enter an address coordinate to select a virtual location where you want your Pokemon Go character to be (This can be anywhere in the world).
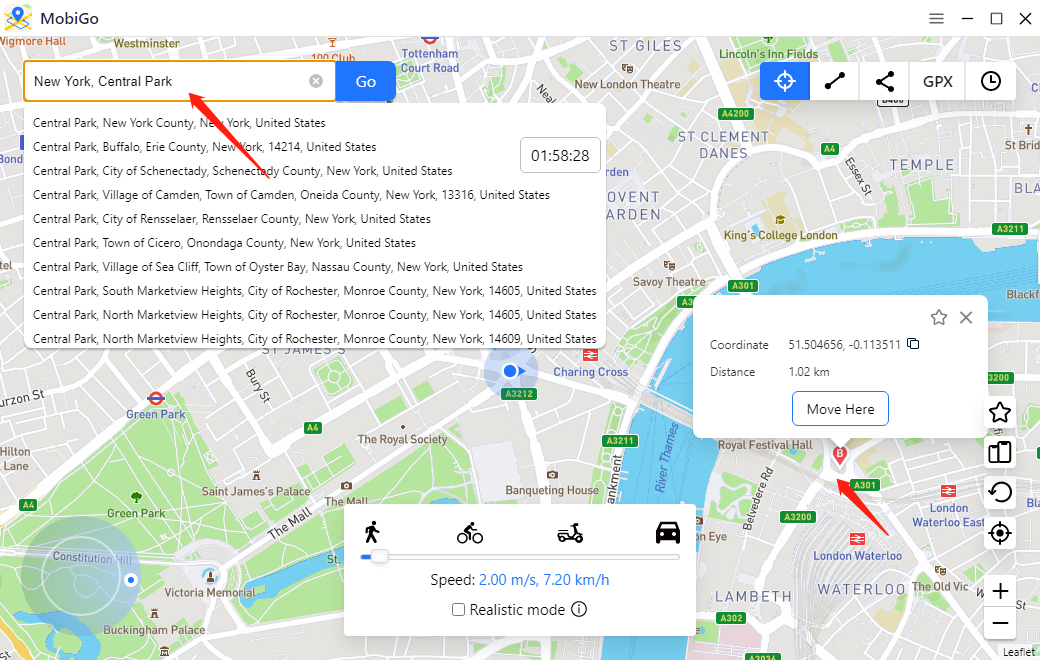
Step 4: Click the “Move Here” button in MobiGo to start spoofing your location in Pokemon Go.
Step 5: Launch the Pokemon Go app on your device and enjoy exploring new locations virtually. This can be particularly useful for acquiring new Pokemon and hatching eggs more efficiently.
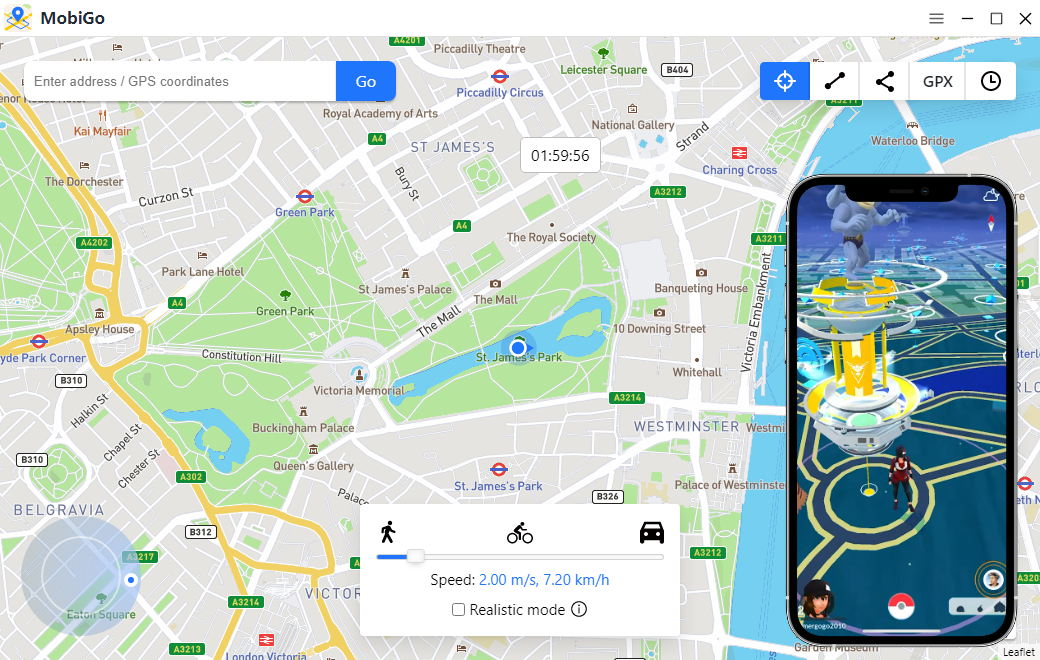
Step 6: To catch more Pokemon Go eggs, you can create routes between two or more locations with MobiGo’s one-stop mode and multi-stop mode. In addition, a same route can be started quickly by importing a GPX file with MobiGo. Besides, you can also fine-tune the location settings, such as moving speed and direction, to make the simulated movement more realistic.

Conclusion
The Pokemon Go Egg Hatching Widget introduces a new level of excitement to the game, providing real-time information about egg hatching progress. Adding the widget to your gameplay is a simple process, enhancing your overall gaming experience. Additionally, the bonus tip on changing Pokemon Go location with AimerLab MobiGo offers a strategic approach to maximize egg hatching potential. Suggest downloading MobiGo and teleporting your Pokemon Go location to anywhere in the world as you desire. Happy hatching, trainers!
- How to Fix iPhone File Stuck on Waiting?
- How to Resolve iPhone Speaker Grayed Out?
- How to Fix iPhone Could Not Be Restored Error 9?
- iPhone Bluetooth Keeps Disconnecting? Try These Solutions
- How to Fix iPhone 14 Pro Max Screen Green Flickering?
- How to Resolve iPhone Switched to Incompatible eSIM Stuck in Boot Loop?