


How to Fix if iTunes Stuck on Preparing iPhone/iPad for Restore
1. Why iTunes Stuck on Preparing iPhone for Restore?
iTunes getting stuck on “Preparing iPhone/iPad for Restore” is a frustrating issue that many users have encountered. This can happen due to various reasons, and understanding these reasons can help you address the problem more effectively. Here are some common causes for iTunes being stuck at this stage and potential solutions:
- Software Glitches or Bugs: iTunes, like any software, can sometimes encounter glitches or bugs that cause it to freeze or get stuck during certain processes.
- USB Connection Issues: A poor or unstable USB connection between your computer and iPhone can lead to restoration problems.
- Outdated iTunes Version: An outdated version of iTunes might not be fully compatible with the latest iOS version on your iPhone.
- Network Connectivity: During the restore process, iTunes communicates with Apple’s servers. If your network connection is slow or unstable, it can cause iTunes to get stuck.
- Large Amounts of Data: If your iPhone has a large amount of data, such as photos, videos, and apps, the restore process might take longer and sometimes get stuck.
- Software Conflicts: Other software running on your computer, especially security software like antivirus or firewalls, can interfere with iTunes operations.
- Corrupted Firmware or Data: If the firmware on your iPhone is corrupted or if there’s corrupted data, it can lead to problems during the restore process.
- Hardware Issues: In some cases, there might be hardware problems with your iPhone, such as a faulty USB port or cable.
- Apple’s Servers: Sometimes, issues on Apple’s servers can lead to problems during the restore process.
2. How to Fix if iTunes Stuck on Preparing iPhone for Restore?
If iTunes is stuck on the “Preparing iPhone/iPad for Restore” stage while attempting to restore your iPhone/iPad, there are several steps you can try to resolve the issue. Here’s what you can do:
2.1 Restart iTunes and Your Computer
Close iTunes completely and then reopen it. Additionally, try restarting your computer. Sometimes, this simple step can clear up any temporary glitches that might be causing the issue.
2.2 Check USB Connection
Ensure that your iPhone is properly connected to your computer using a functioning USB cable. Consider attempting a connection through an alternative USB port on your computer.
2.3 Update iTunes
Ensure that you are utilizing the most up-to-date version of iTunes. Outdated software can sometimes cause compatibility issues. If needed, update iTunes to the latest version.
2.4 Update iPhone Software
If your iPhone’s software is outdated, it might lead to issues during the restore process. Check if there’s a software update available for your iPhone and apply it.
2.5 Try a Different Computer
If the issue persists, try connecting your iPhone to a different computer. This can help determine whether the problem is with your computer or your iPhone.
2.6 Disable Security Software
Sometimes, security software on your computer can interfere with the restore process. Temporarily deactivate any antivirus or firewall software and check if this resolves the problem.
2.7 Put iPhone into Recovery Mode
If none of the above steps work, you can try putting your iPhone into Recovery Mode and then attempting the restore again. Here’s how:
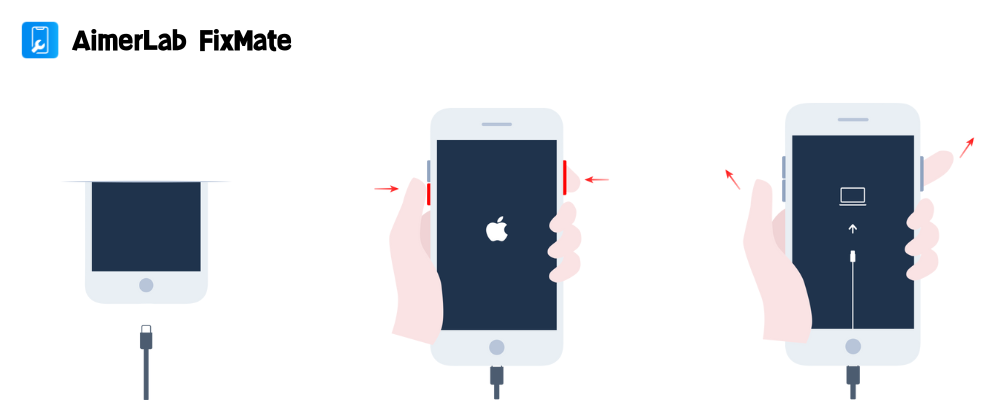
For iPhone 8 and later:
- Connect your iPhone to your computer and open iTunes, quickly press and release the Volume Up button, then do the same with the Volume Down button.
- Hold down the Power button until the Apple logo becomes visible.
- Release the Power button when your iPhone screen displays the “Connect to iTunes” logo.

For iPhone 7 and 7 Plus:
- Link your iPhone to your computer and launch iTunes.
- Simultaneously, grip the Volume Down and Sleep/Wake (Power) buttons.
- Release both buttons until you see the “Connect to iTunes” logo.
3. Bonus Tip: How to Fix iPhone System Issues with 1-Click?
If itunes is stuck on preparing iphone for restore, your iPhone may face some system issues that will affect normal use. In this siutuation, it’s suggested using the AimerLab FixMate to repair your iPhone’s system. With FixMate, iOS users can fix over basic system issues like stuck on preparing update, stuck on recovery mode, stuck on white Apple logo and any other issues without losing data. Besides, you can also fix more serious system issues like fogotten passcode, but this will delete data on your device. FixMate also allows entering or exiting recovery mode with just one click, and this feature is completel free.
When dealing with complex iPhone system issues, AimerLab FixMate proves to be an invaluable tool, and here’s how to use it effectively:
Step 1: Click the “Free Download” button to install AimerLab FixMate on your PC.
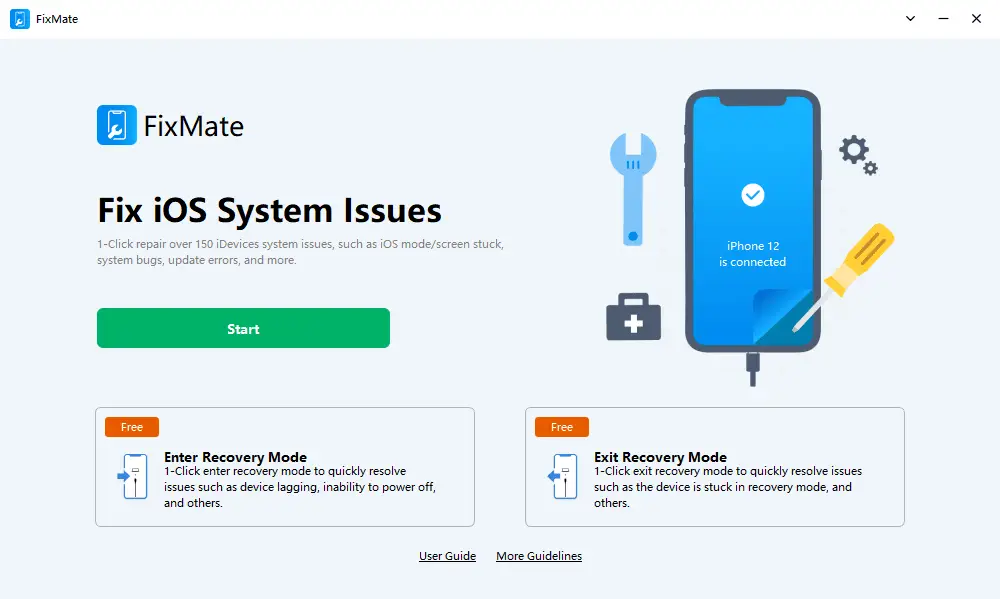
Step 2: Start FixMate after connecting your iPhone/iPad to your PC using a USB cable. Once your device has been recognized, tap the “Start” button on FixMate’s interface.
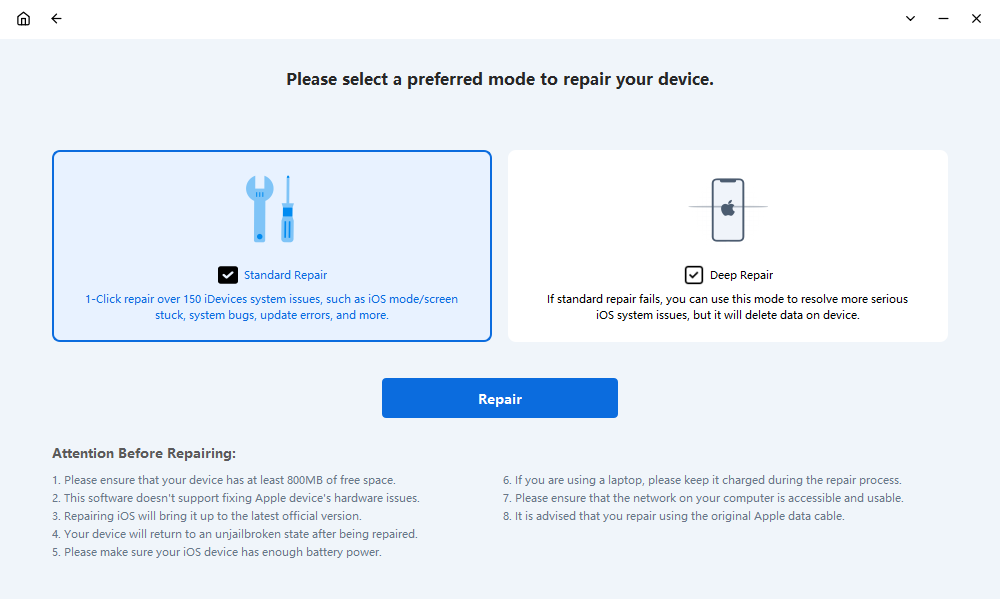
Step 3: Select either the “Standard Repair” or “Deep Repair” mode to initiate the repairing procedure. Standard repair mode resolves basic problems without erasing data, while deep repair mode resolves more critical issues but simultaneously erasing the device’s data. To fix your iPhone/iPad issues, it is advised to use the standard repair mode first.
Step 4: Select the firmware version you want, and then click the “Repair” button to start the download of the firmware package onto your computer.
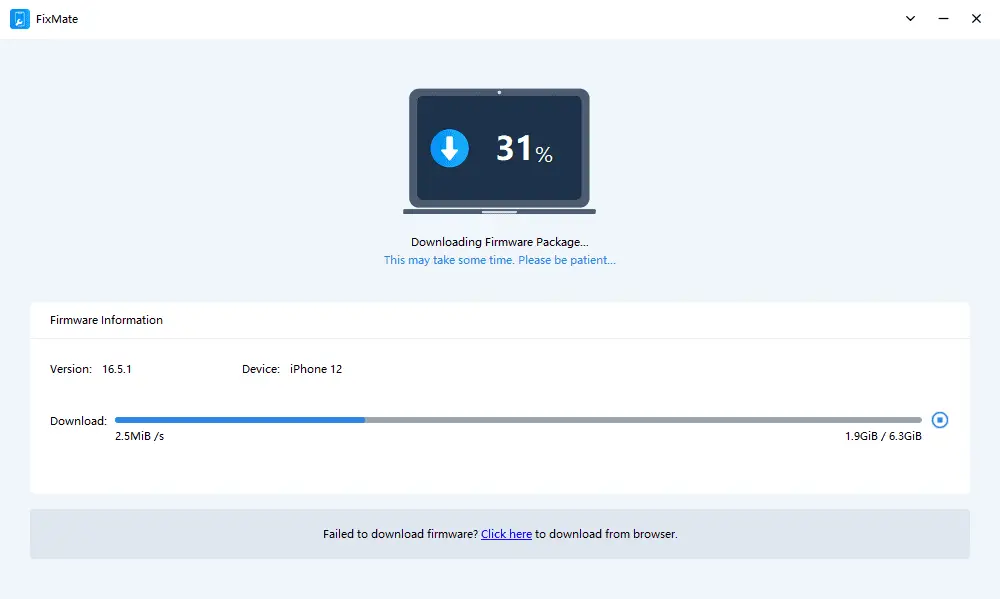
Step 5: FixMate will immediately begin fixing all system issues on your iPhone/iPad as soon as the download is finished.
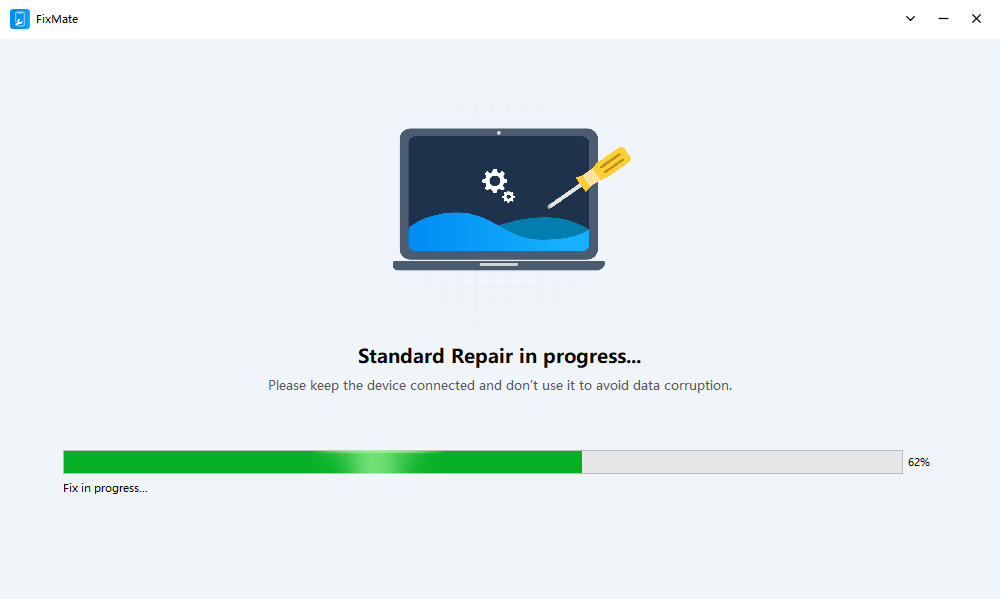
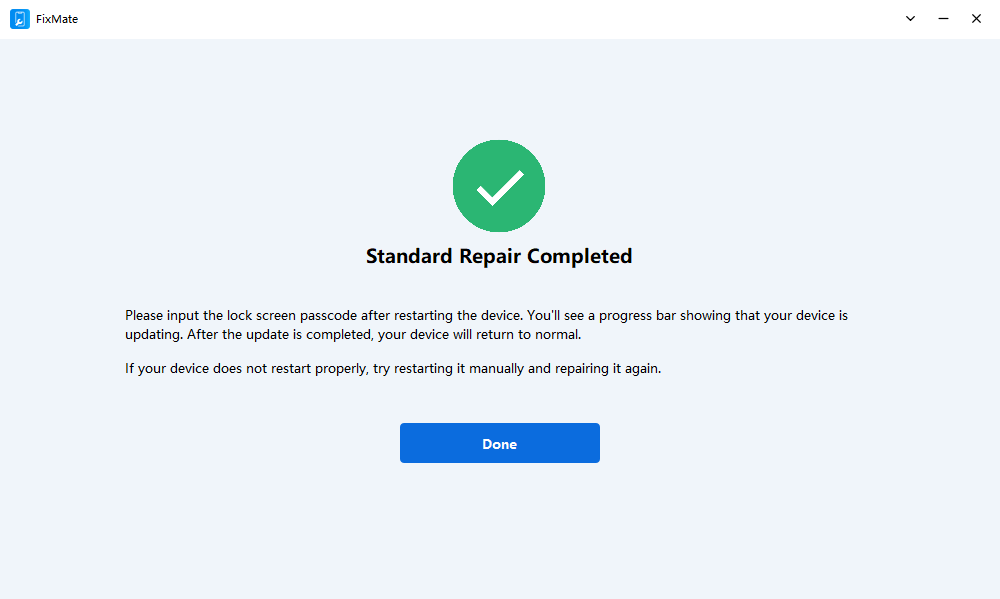
Step 6: As soon as the repair is done, your iPhone/iPad will restart and return to its initial state.
4. Conclusion
By following the steps outlined in this article, you can effectively troubleshoot iTunes-related stuck problems. If you meet iPhone/iPad system issues, you can utilize AimerLab FixMate to resolve these errors wothout data loss, download it and have a try today.
- How to Fix iPhone File Stuck on Waiting?
- How to Resolve iPhone Speaker Grayed Out?
- How to Fix iPhone Could Not Be Restored Error 9?
- iPhone Bluetooth Keeps Disconnecting? Try These Solutions
- How to Fix iPhone 14 Pro Max Screen Green Flickering?
- How to Resolve iPhone Switched to Incompatible eSIM Stuck in Boot Loop?