


How to Fix iPhone Stuck on do not Disturb?

1. Why Does iPhone Get Stuck on Do Not Disturb?
“Do Not Disturb” is a useful feature that silences incoming calls, messages, and notifications, allowing users to focus or enjoy uninterrupted sleep. However, when this mode becomes persistent and unresponsive, it can be frustrating. Several factors could lead to an iPhone getting stuck on “Do Not Disturb”:
- Software Glitches: Like any complex piece of technology, iPhones can experience software glitches. A minor bug in the system could cause the “Do Not Disturb” mode to become stuck.
- Settings Conflict: Sometimes, conflicting settings might be the culprit. If there’s a clash between different settings related to notifications or Do Not Disturb, it can lead to the mode becoming stuck.
- System Updates: New iOS updates can bring about unforeseen issues. If an update isn’t installed properly or contains bugs, it could lead to the “Do Not Disturb” problem.
- Third-Party Apps: Certain third-party apps might not be compatible with the iOS version, causing conflicts that result in the iPhone being stuck on “Do Not Disturb.”
2. How to Fix iPhone Stuck on Do Not Disturb
Resolving the issue of an iPhone stuck on “Do Not Disturb” involves a series of troubleshooting steps. Here’s a step-by-step guide to tackle the problem:
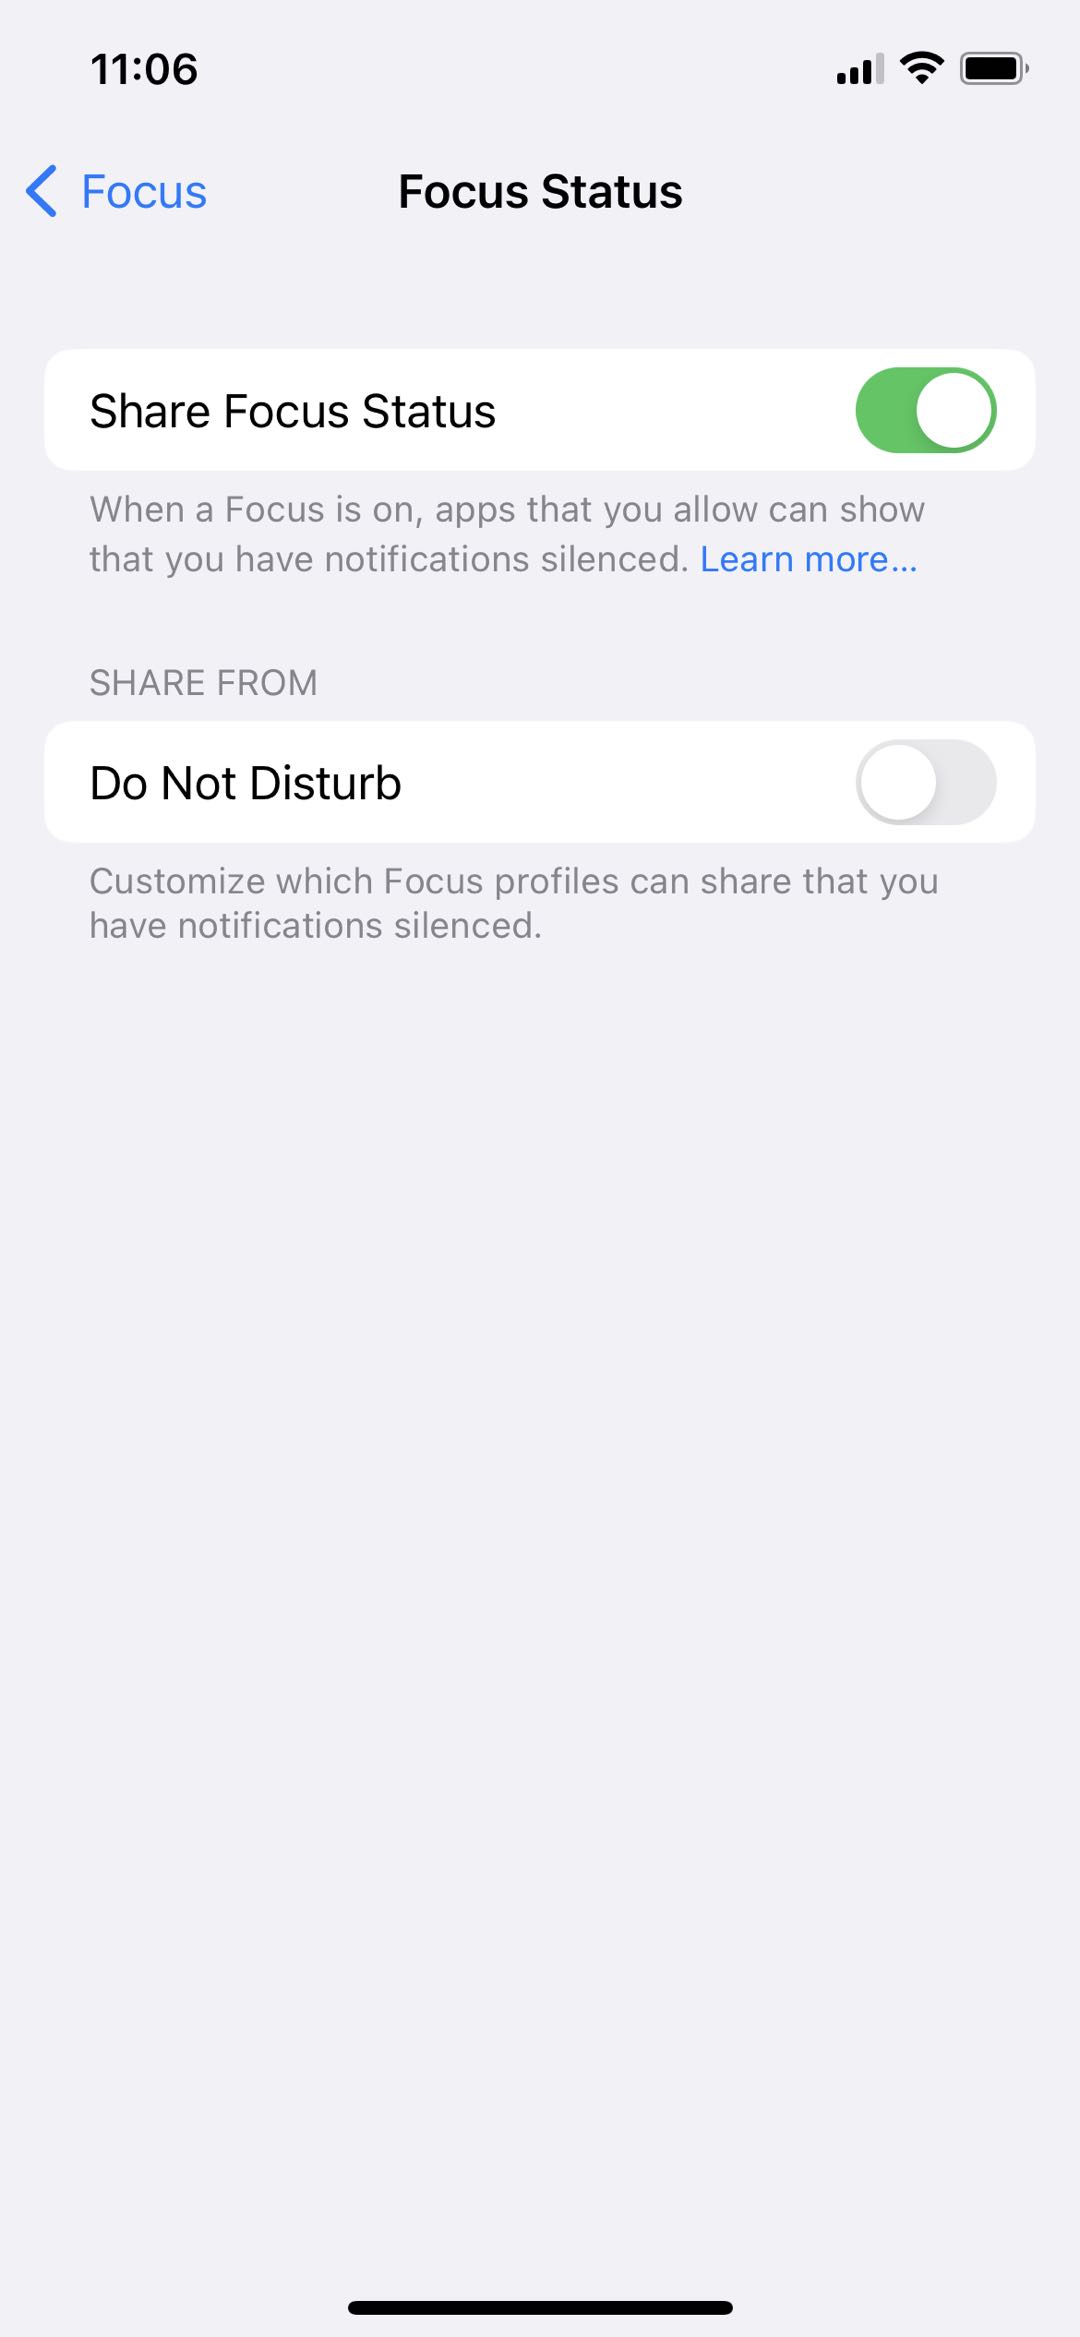
● Toggle Do Not Disturb
Start with the basics. Open the Control Center and ensure that the “Do Not Disturb” icon is turned off.
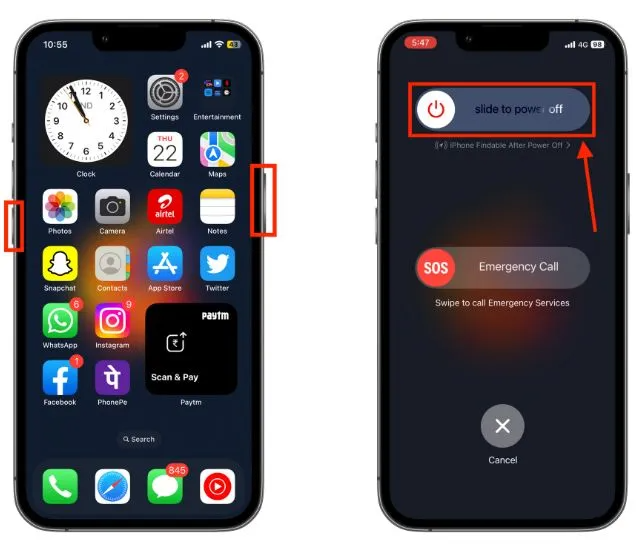
● Restart the iPhone
At times, a straightforward restart can effectively eliminate temporary glitches. To initiate this, press and hold volume down and the power button until the slider becomes visible. Then, proceed by sliding to power off the device. After a few seconds, turn the device back on.
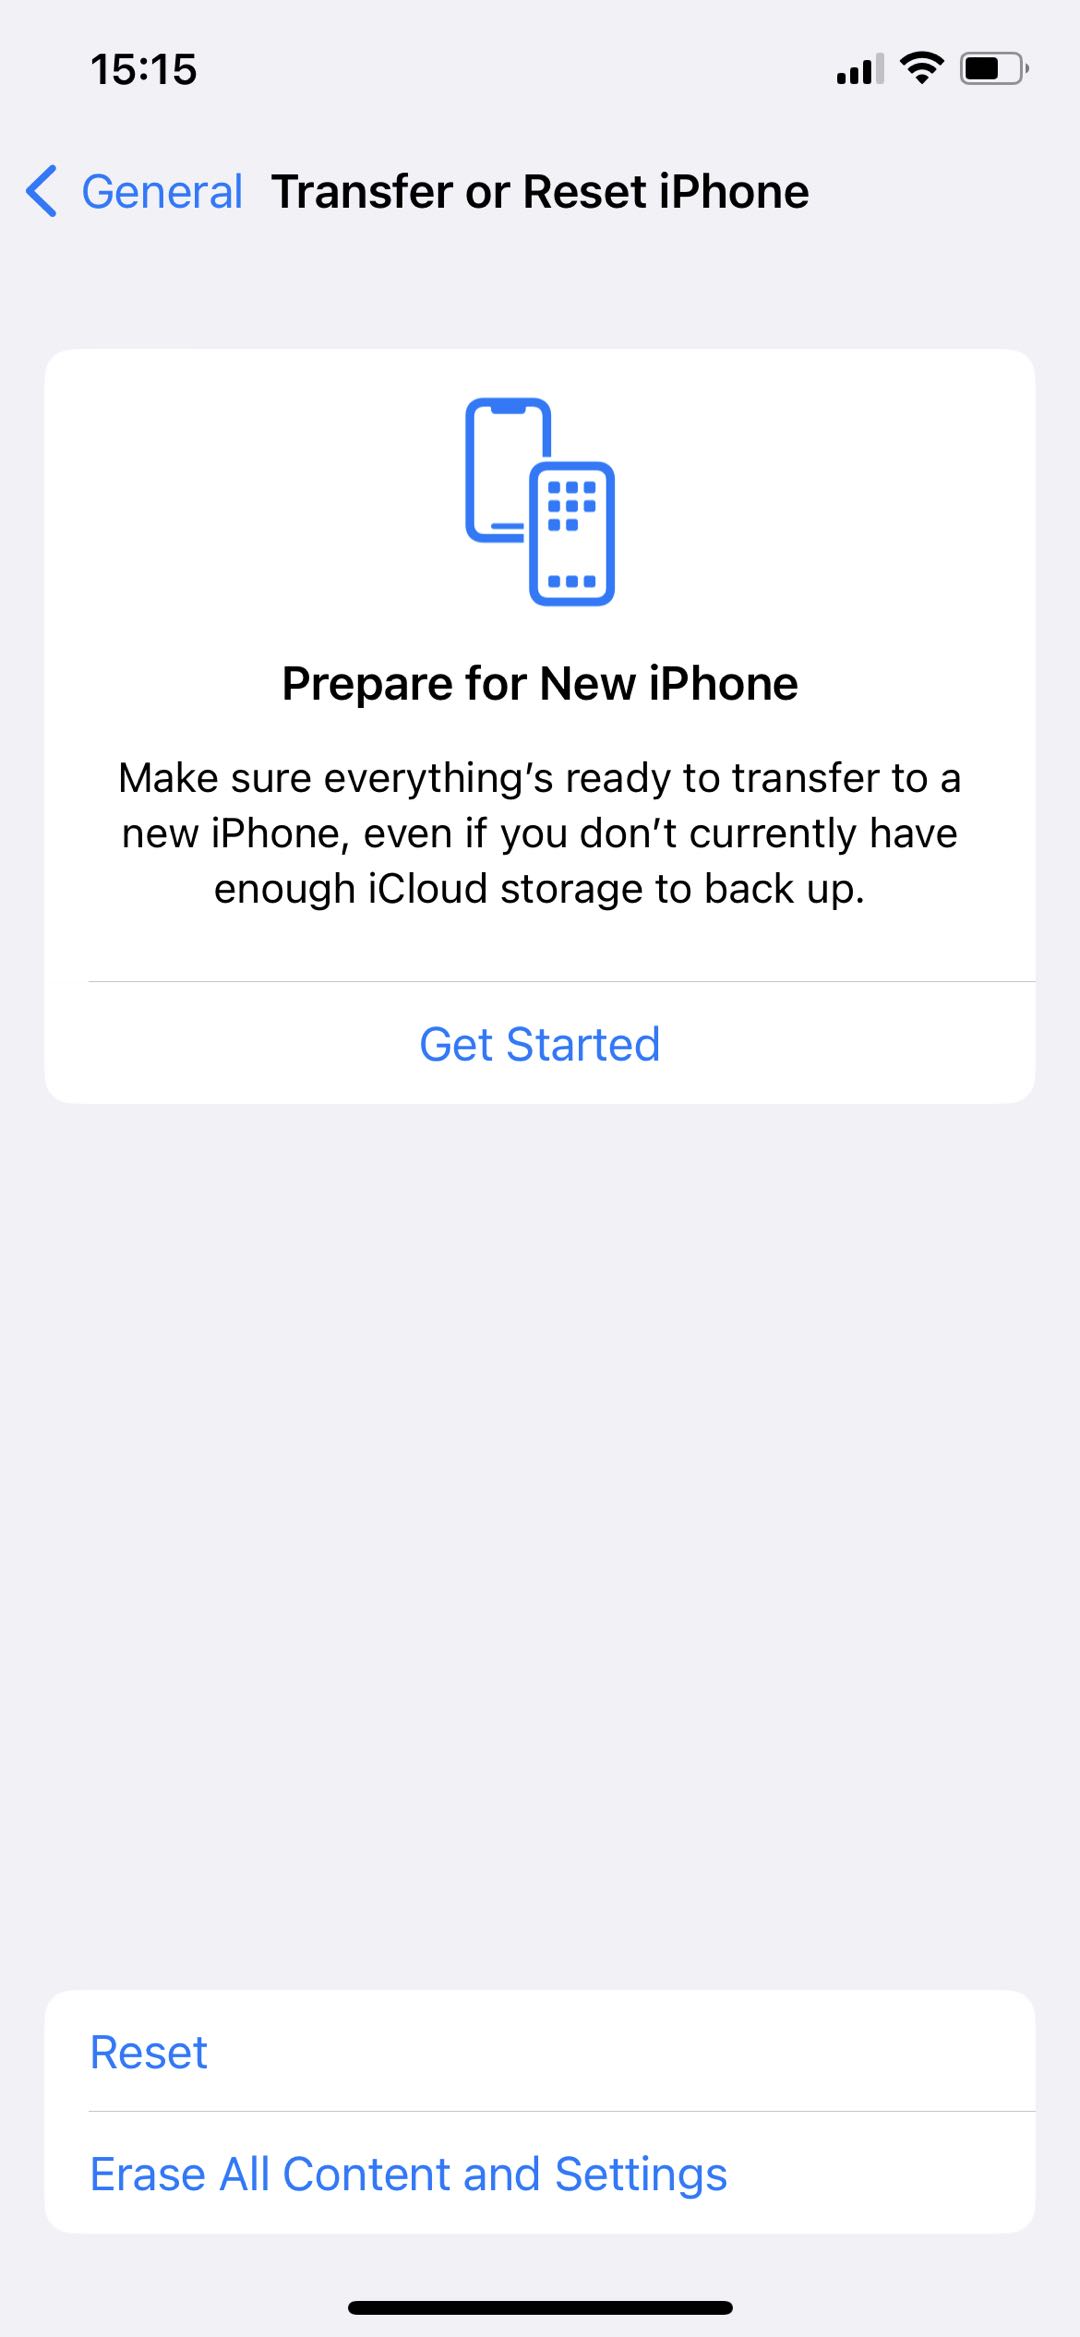
● Reset All Settings
If conflicting settings are suspected, reset all settings to default. Access the Settings menu, followed by General. From there, proceed to Transfer or Reset iPhone and select the Reset option. This won’t erase your data but will revert settings to factory defaults.
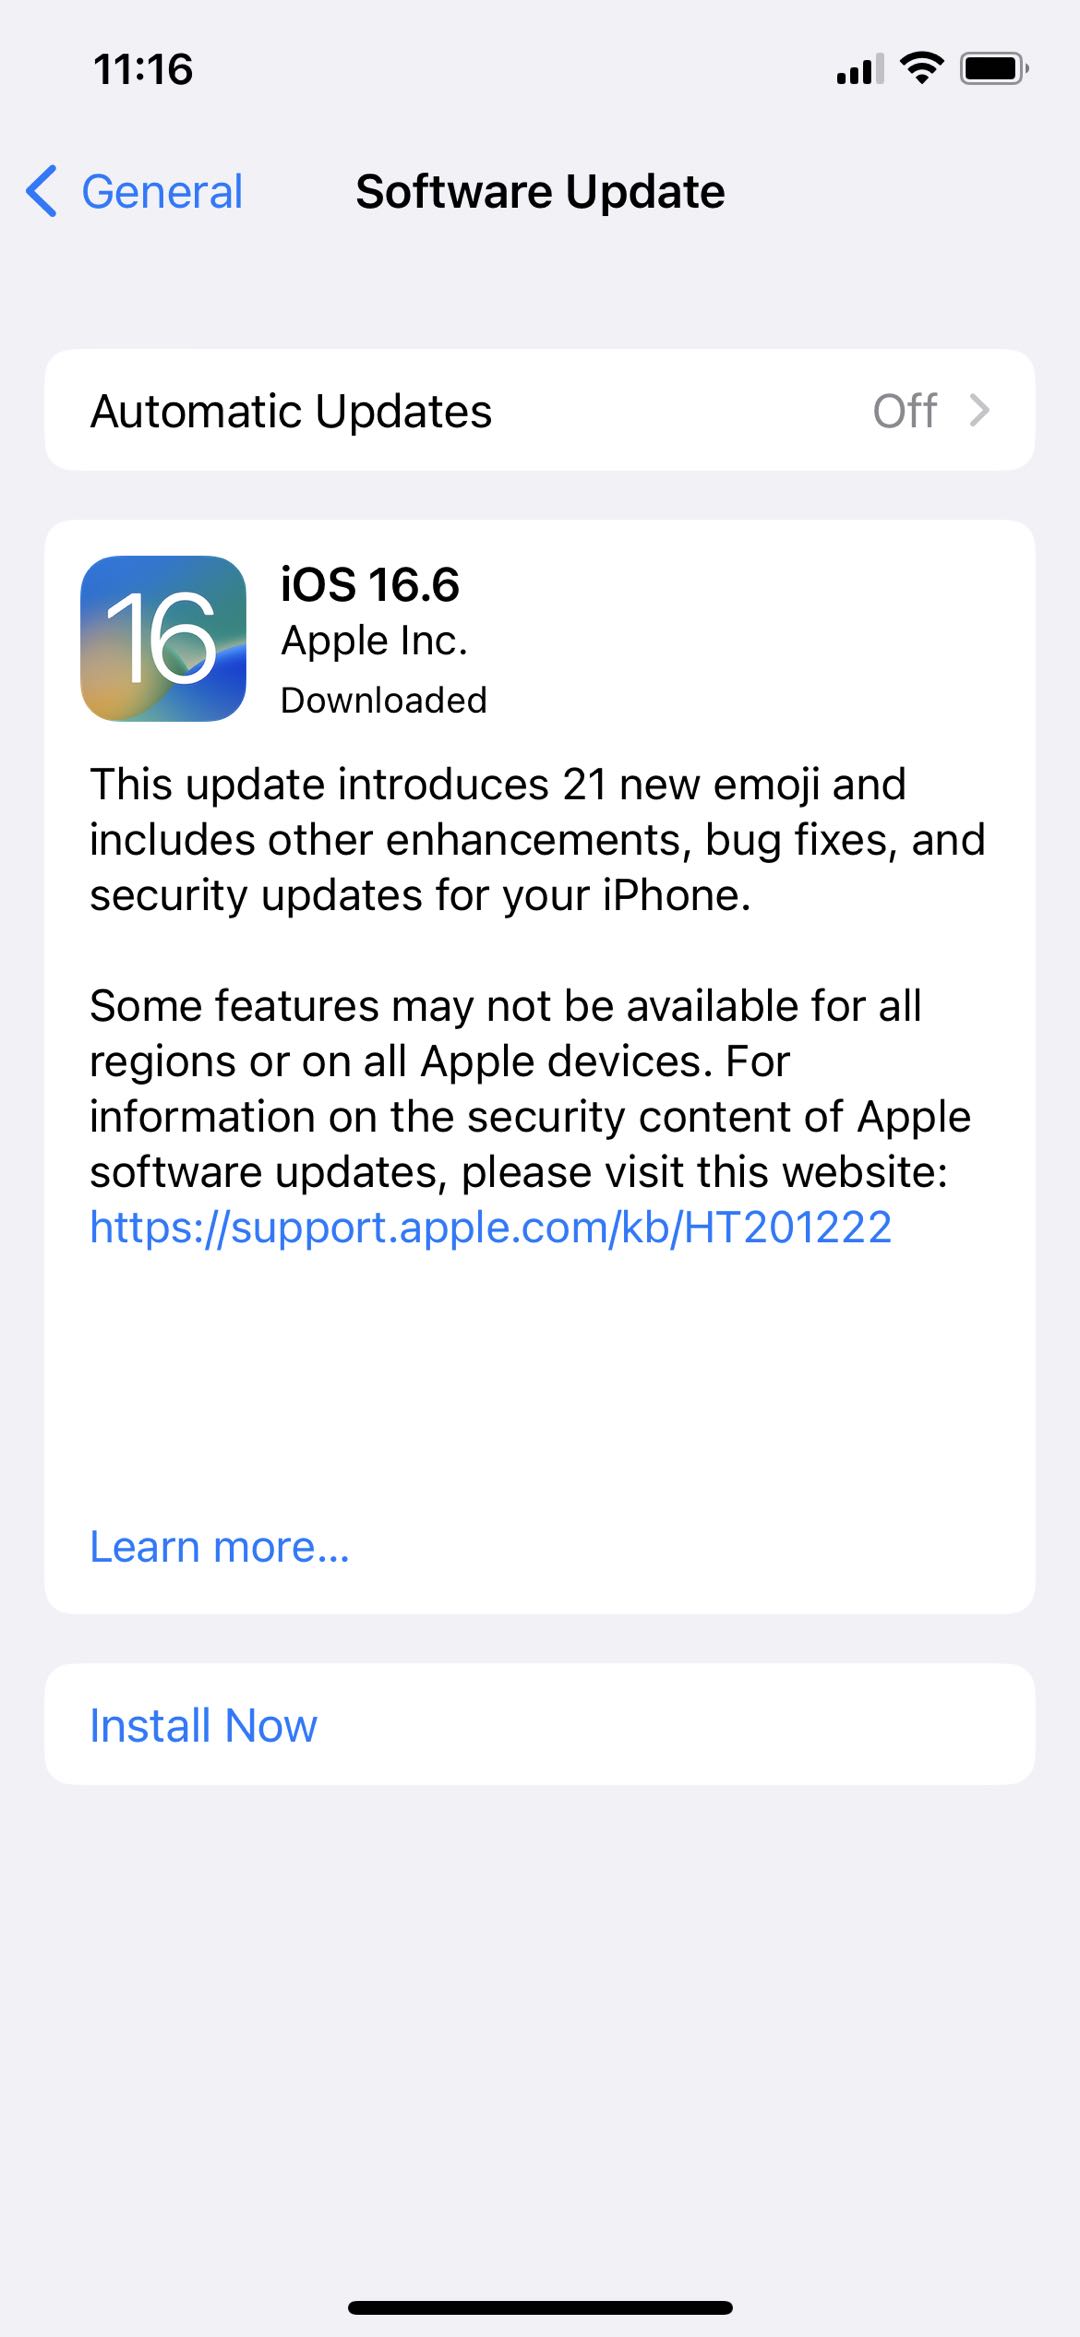
● Update iOS
Verify that your iPhone is equipped with the latest iOS version. Navigate to Settings > General > Software Update, and proceed to install any updates that are available.
● Perform a Hard Reset
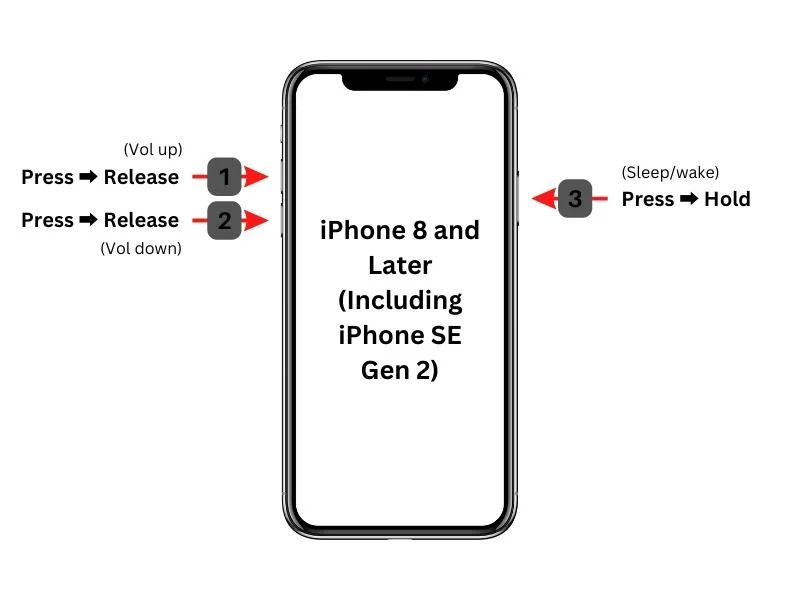
Sometimes, a hard reset can help. For iPhone 8 and later, quickly press and release the Volume Up button, then the Volume Down button, and finally hold the Side button until the Apple logo appears.
3. Advanced Method to Fix iPhone Stuck on do not Disturb
If you can still can’t resolve the issue with the methods above, or you may face more complex cases, such as persistent software glitches or issues stemming from system updates, using specialized tools like AimerLab FixMate can provide an advanced solution. AimerLab FixMate is designed to repair 150+ iOS system problems like iOS stuck on do not disturb, stuck on recovery mode, stuck on updating, stuck on white Apple logo, black screen and any other systen issues. With several clicks you can repair your Apple devices effortlessly. Besides, FixMate also support get your iOS into and out of recovery mode with just one click for free.
Here’s how to use AimerLab FixMate to fix iPhone stuck on do not dsiturb:
Step 1: Download FixMate on your computer by clicking the “Free Download” button below, then install it.
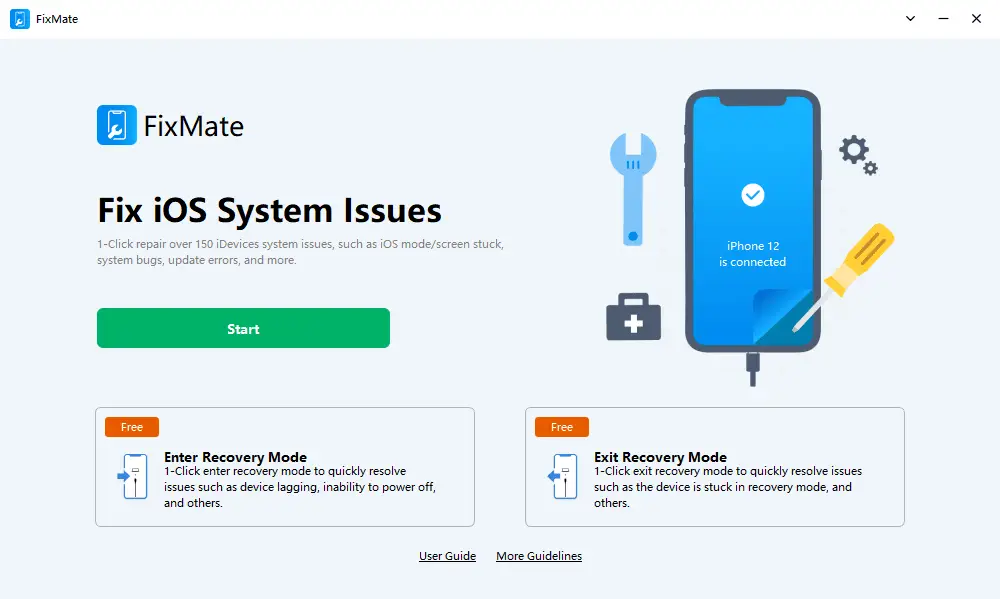
Step 2: Launch FixMate and connect your iPhone using a USB cable. When you see the screen show your device’s status, you can find the “Fix iOS System Issues” feature and click the “Start” button to begin repairing.
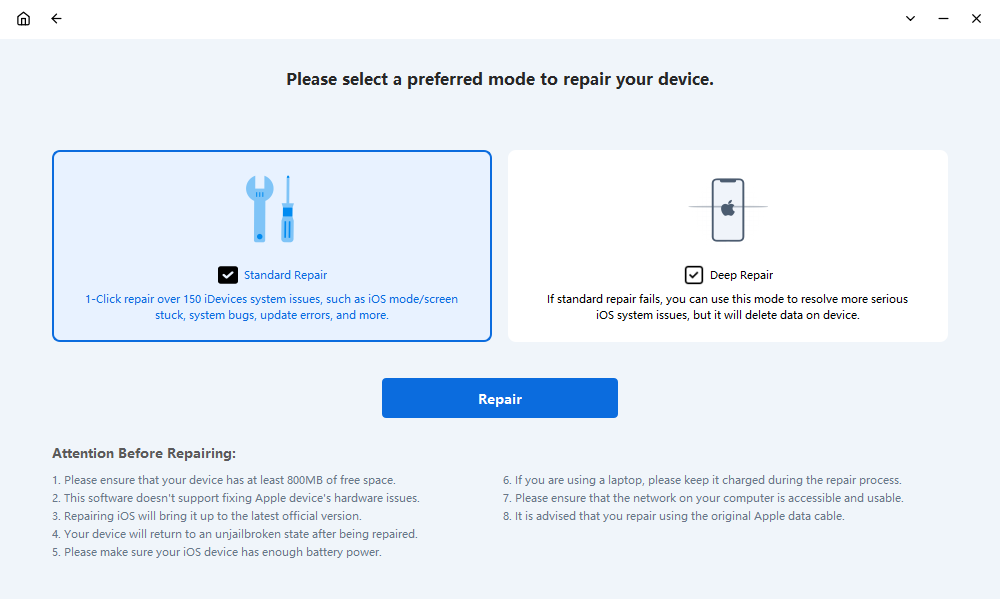
Step 3: Choose the Standard Mode to fix your issue. This mode allows to fix basic iOS system issues with lossing data.
Step 4: FixMate will detect your device model and offer the appropriate firmware, next click “Repair” to start downloading the firmware package.
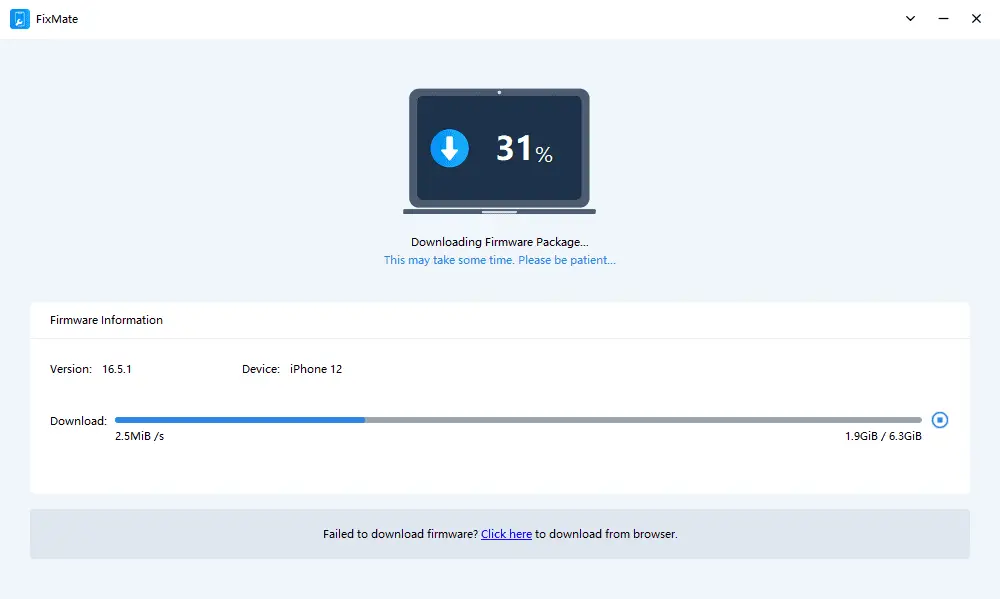
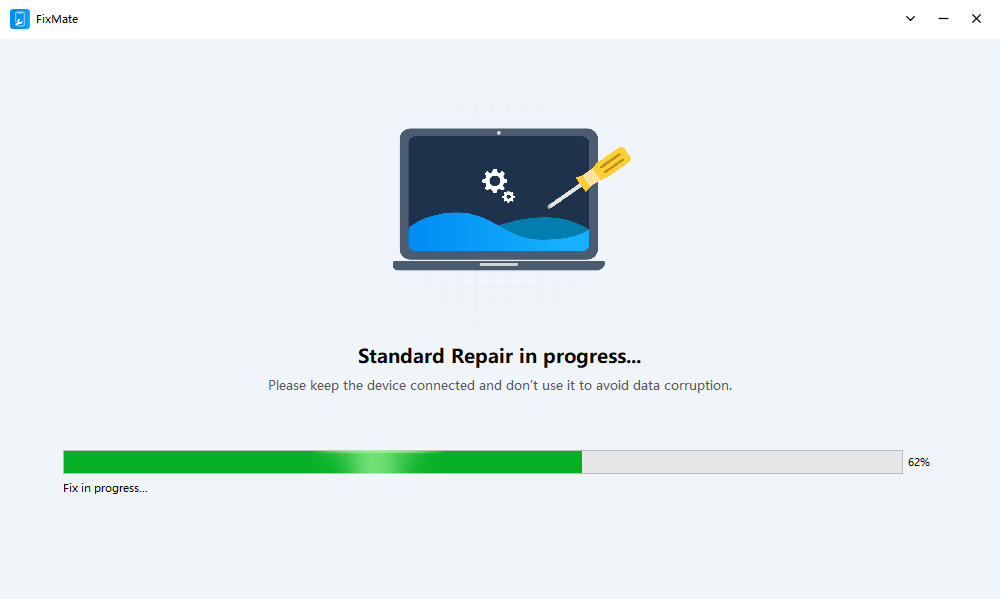
Step 5: After downloading, FixMate will begin fixing the iOS system issues. The process may take some time, and it’s essential to keep your device connected during this time.
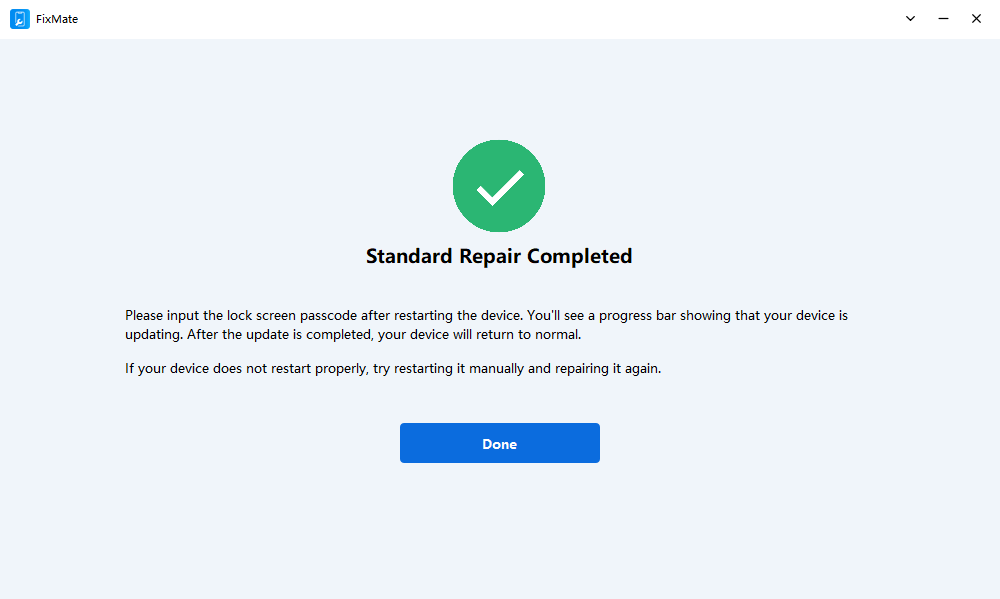
Step 6: Once the repair is complete, your iPhone should restart, and the “Do Not Disturb” issue should be resolved.
4. Conclusion
The iPhone stuck on “Do Not Disturb” issue can be frustrating, but with the right troubleshooting steps, it’s usually manageable. There are various basic methods to tackle the problem. If the issue persists, you can try the AimerLab FixMate iOS system repair tool to fix any issues on your Apple device. Suggest downloading it and have a try.
- How to Resolve iPhone Speaker Grayed Out?
- How to Fix iPhone Could Not Be Restored Error 9?
- iPhone Bluetooth Keeps Disconnecting? Try These Solutions
- How to Fix iPhone 14 Pro Max Screen Green Flickering?
- How to Resolve iPhone Switched to Incompatible eSIM Stuck in Boot Loop?
- How to Resolve “iPhone Not Activated – Contact Your Carrier”?