


DFU Mode vs Recovery Mode: A Full Guide About Differences
When troubleshooting issues with iOS devices, you may have come across terms like “DFU mode” and “recovery mode.” These two modes provide advanced options for repairing and restoring iPhones, iPads, and iPod Touch devices. In this article, we will delve into the differences between DFU mode and recovery mode, how they function, and the specific scenarios in which they are useful. By understanding these modes, you can effectively troubleshoot and resolve various iOS-related problems.
1. What is DFU Mode and Recovery Mode?
DFU (Device Firmware Update) mode is a state in which an iOS device can communicate with iTunes or Finder on a computer without activating the bootloader or iOS. In DFU mode, the device bypasses the typical boot process and allows for low-level operations. This mode is useful for situations requiring advanced troubleshooting, such as downgrading iOS versions, fixing bricked devices, or resolving persistent software issues.
Recovery mode is a state in which an iOS device can be restored or updated using iTunes or Finder. In this mode, the device’s bootloader is activated, allowing communication with iTunes or Finder to initiate software installation or restoration. Recovery mode is commonly used to fix issues like failed software updates, device not turning on, or encountering the “Connect to iTunes” screen.
2. DFU Mode vs Recovery Mode: What’s the Difference?
While both DFU mode and recovery mode serve similar purposes of troubleshooting and restoring iOS devices, there are notable differences between them:
● Functionality: DFU mode enables low-level operations, allowing for firmware modifications, downgrades, and bootrom exploits. Recovery mode focuses on device restoration, software updates, and data recovery.● Bootloader Activation: In DFU mode, the device bypasses the bootloader, while recovery mode activates the bootloader to facilitate communication with iTunes or Finder.
● Screen Display: DFU mode leaves the device screen blank, while recovery mode displays the “Connect to iTunes” or a similar screen.
● Device Behavior: DFU mode prevents the device from loading the operating system, making it more suitable for advanced troubleshooting. Recovery mode, on the other hand, loads the operating system partially, allowing for software updates or restoration.
● Device Compatibility: DFU mode is available on all iOS devices, while recovery mode is compatible with devices that support iOS 13 and earlier.
3. When to Use DFU Mode vs Recovery Mode?
Knowing when to use DFU mode or recovery mode can be crucial in resolving specific issues:
3.1 DFU Mode
Use DFU mode in the following scenarios:
● Downgrading iOS firmware to a previous version.● Fixing a device stuck in a boot loop or unresponsive state.
● Resolving persistent software issues that cannot be resolved through recovery mode.
● Performing jailbreaks or bootrom exploits.
3.2 Recovery Mode
Utilize recovery mode for the following situations:
● Restoring a device that is displaying the “Connect to iTunes” screen.● Fixing failed software updates or installations.
● Recovering data from a device that is not accessible in normal mode.
● Resetting a forgotten passcode.
4. How to Enter DFU Mode vs Recovery Mode?
Here are two methods to put iPhone in DFU mode and recovery mode.
4.1 Enter DFU Mode vs Recovery Mode Manually
Steps to put iphone in DFU mode manually (For iPhone 8 and above):
● Connect your device to a computer with a USB cable.● Quick-press the Volume Up button, then quick-press the Volume Down button. Press and hold the Power button until screen turns black.
● Continue to hold the Power and Volume Up button for 5s.
● Release the Power button but keep holding the Volume Up button for 10s.
Steps to enter recovery mode manually:
● Connect your device to a computer with a USB cable.● Quick-press and release the Volume Up button, then quick-press and release the Volume Down button. Press and hold the Power button until screen turns black.
● Continue holding the Power button when you see the Apple logo.
● Release the Power button when you seen the “Connect to iTunes or computer” logo.
4.2 1-Click Enter and Exit Recovery Mode
If you want to quickly use the recovery mode, then AimerLab FixMate is an useful tool for you to enter and exit the iOS recovery mode with just one click. This feature is 100% free for iOS users who is seriously stuck on the recovery issues. Besides, FixMate is an all-in-one iOS system repairing tool that supports resolving over 150 issues like stuck on Apple logo, stuck on DFU mode, black screen, and much more.
Let’s see how to enter and exit recovery mode with AimerLab FixMate:
Step 1: Download AimerLab FixMate to your computer, and then follow the on-screen steps to install it.
Step 2: 1-Click Enter Exit Recovery Mode
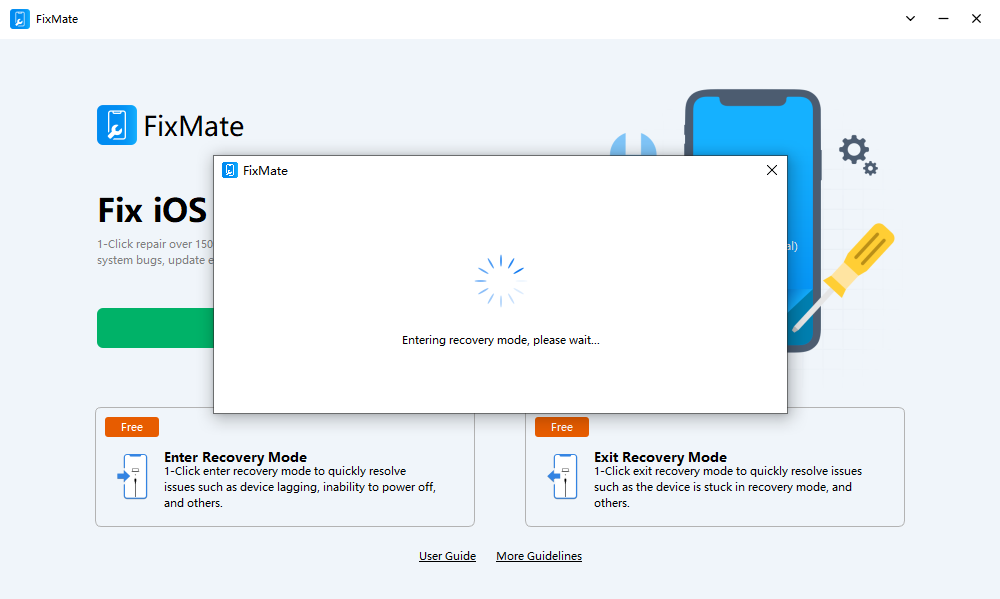
1) Click “Enter Recovery Mode” button on FixMate’s main interface.
2) FixMate will put your iPhone into recovery mode in seconds, please be patient.
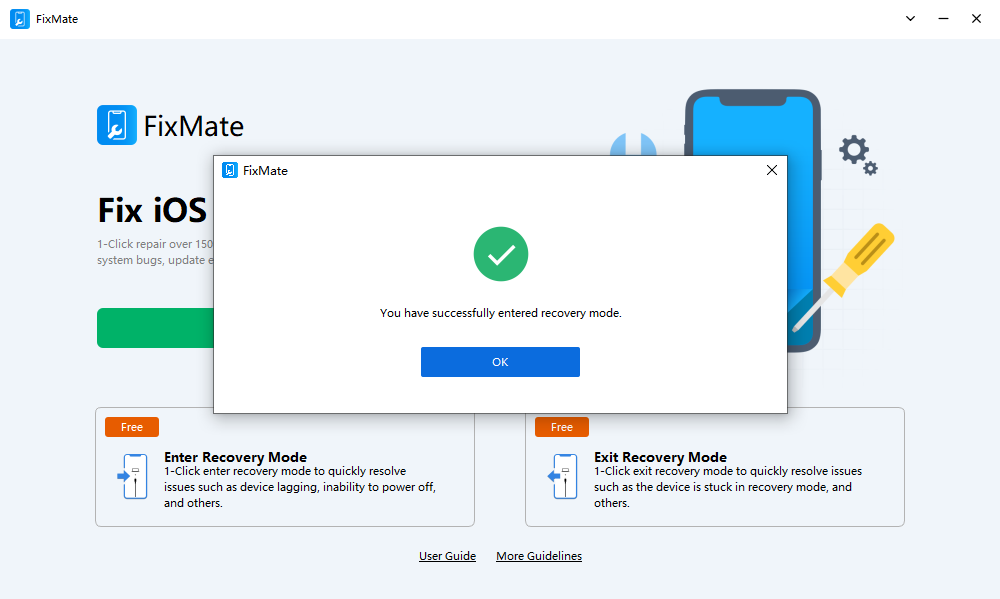
3) You will enter the recovery mode successfully, and you will see the “connect to the iTunes on computer” logo appears on your device’s screen.
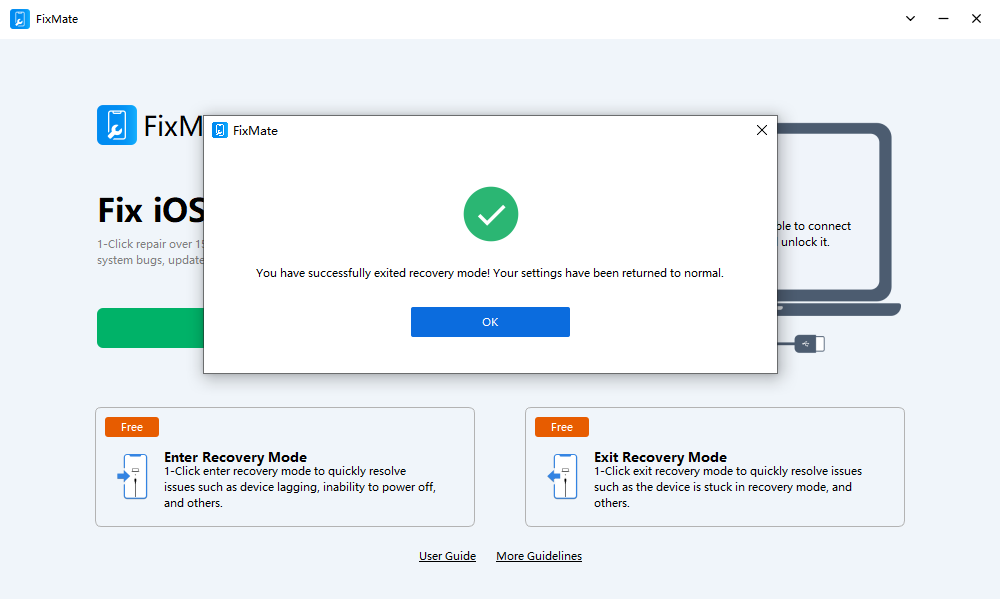
Step 3: 1-Click Exit Recovery Mode
1) To get out of recovery mode, you need to click “Exit Recovery Mode”.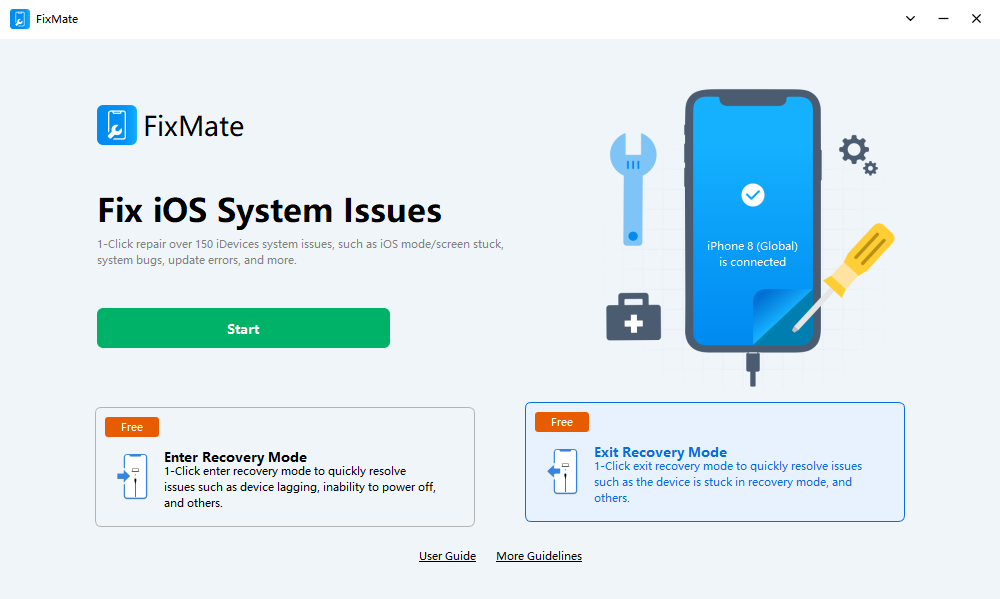
2) Just wait a few seconds, and FixMate will return your device to normal.
5. Conclusion
DFU mode and recovery mode are essential tools for troubleshooting and restoring iOS devices. While DFU mode is suitable for advanced operations and software modifications, recovery mode focuses on device restoration and software updates. By understanding the differences and knowing when to use each mode, you can effectively resolve various iOS-related issues and bring your device back to optimal functionality. Lastly but least, if you want to quickly enter or exit recovery mode, don’t forget to download and use the AimerLab FixMate to do this with one click.
- How to Resolve iPhone Speaker Grayed Out?
- How to Fix iPhone Could Not Be Restored Error 9?
- iPhone Bluetooth Keeps Disconnecting? Try These Solutions
- How to Fix iPhone 14 Pro Max Screen Green Flickering?
- How to Resolve iPhone Switched to Incompatible eSIM Stuck in Boot Loop?
- How to Resolve “iPhone Not Activated – Contact Your Carrier”?