How to Use AimerLab FixMate iOS System Repair Tool
Find the most comprehensive FixMate guides right here to quickly fix iOS system issues.
Download and try it now.
1. Download and install FixMate
Method 1: You can download directly from the official site of AimerLab FixMate.
Method 2: Download the installation package from the link below.
2. Upgrade FixMate
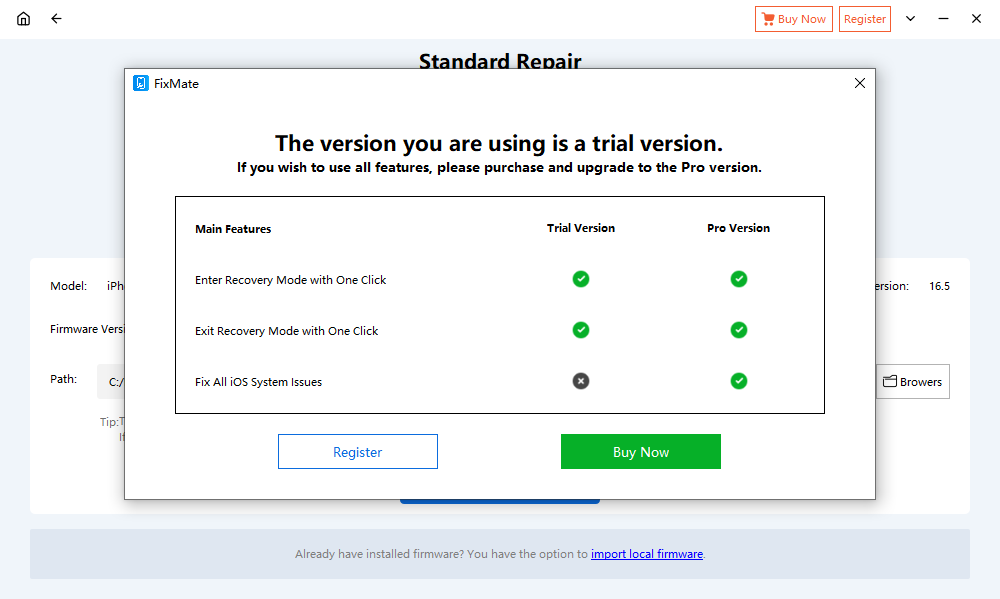
AimerLab FixMate support 100% freely using the Enter/Exit Recovery Mode, however, if you wish to use all the features, like "Fix iOS System Issues", it's recommended to buy a FixMate license.
You can upgrade your FixMate trial version to Pro by purchasing a AimerLab FixMate plan.
3. Register FixMate
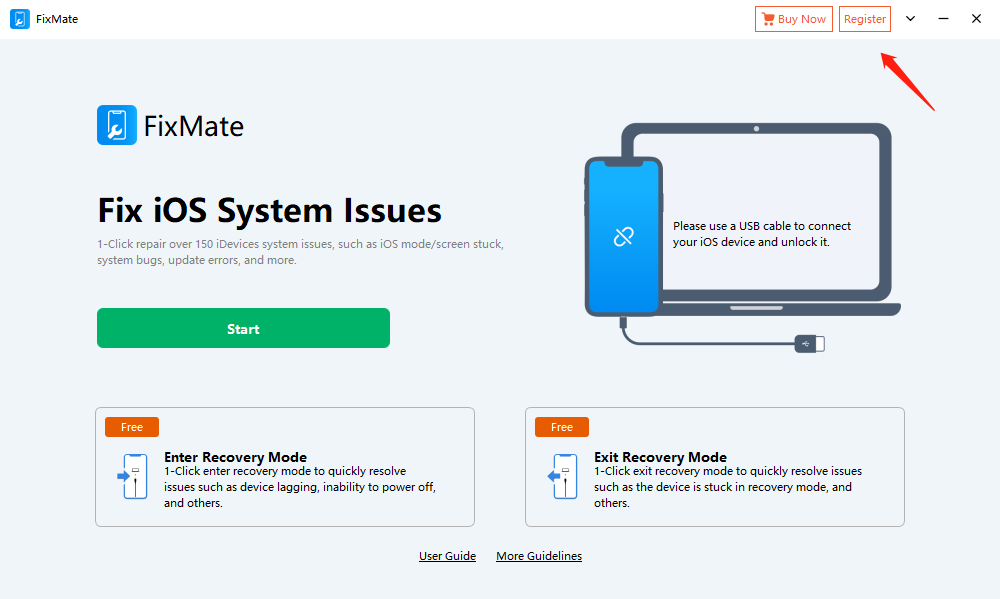
After purchasing, you will receive an email from AimerLab FixMate with a license key. Just copy it , then find and click the "Register" tab at the top right of FixMate's interface.
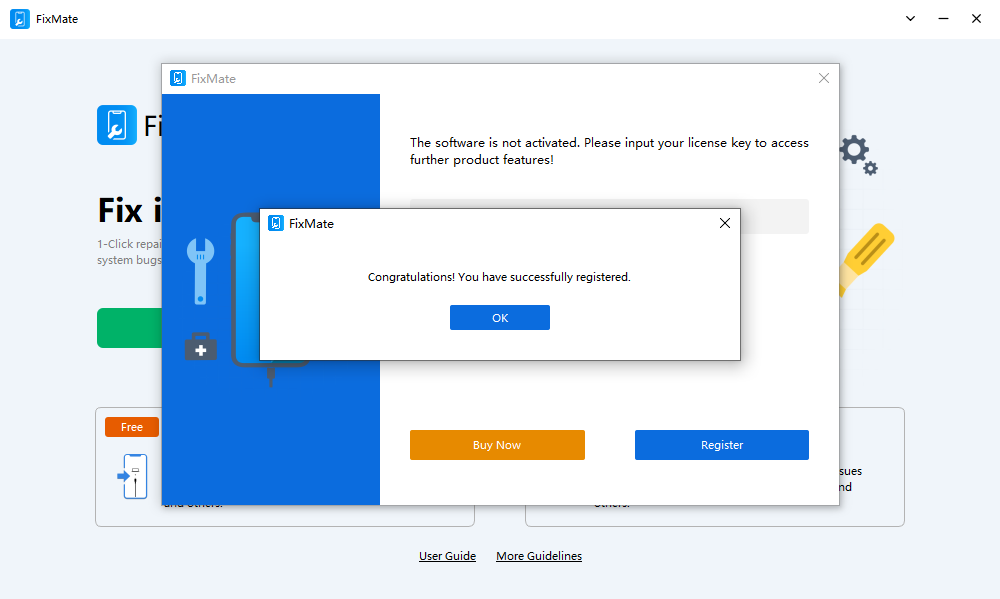
Paste the license key that you have just copied, and then click the "Register" button.
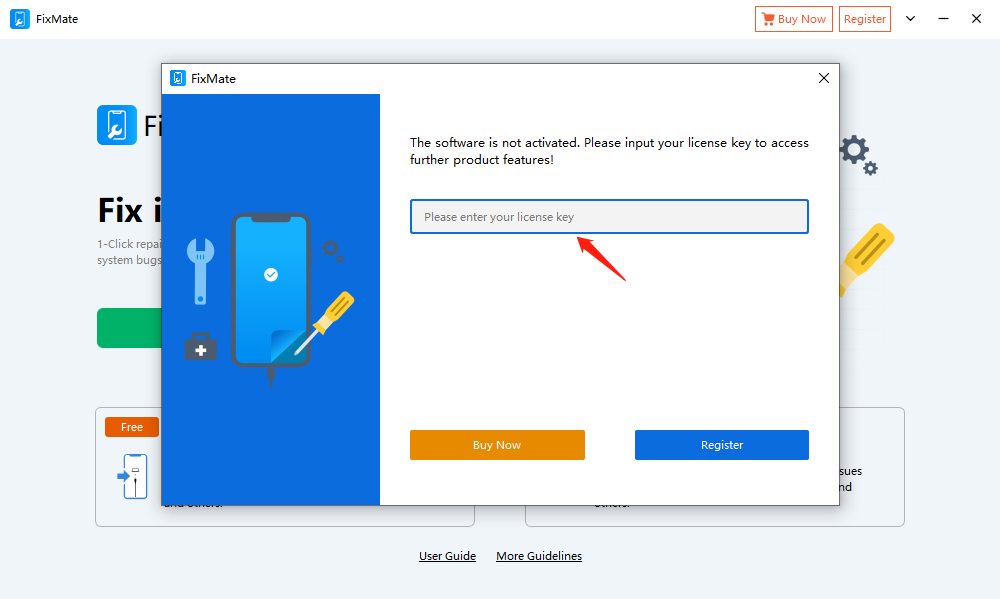
FixMate will quickly check your license key and you will register successfully.
4. Fix iOS System Issues
After installation, launch AimerLab FixMate on your computer, and then click the green "Start" button to begin fixing your device's system issues.
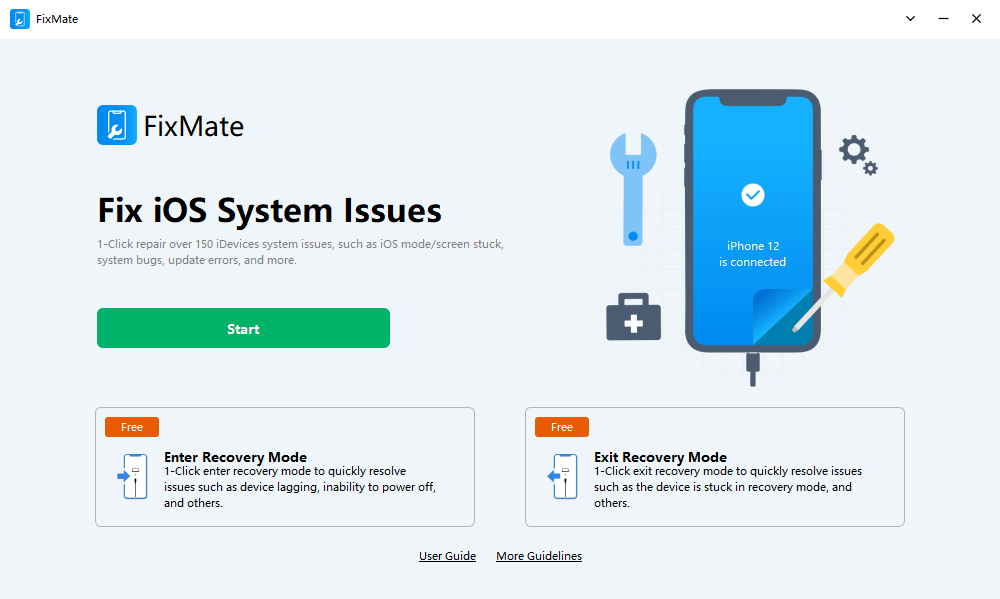
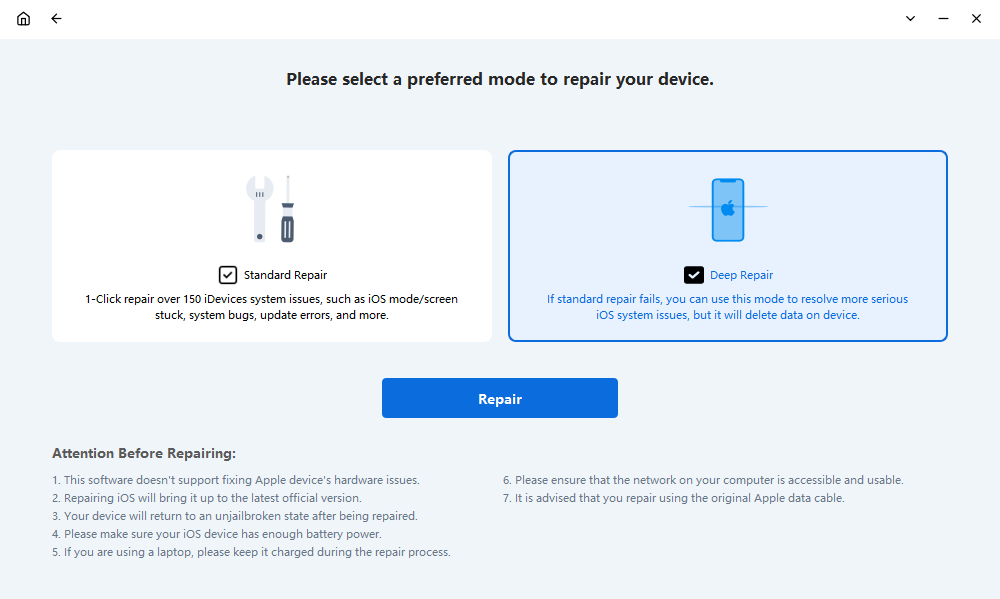
After this you are able to choose a preferred mode to repair your device.
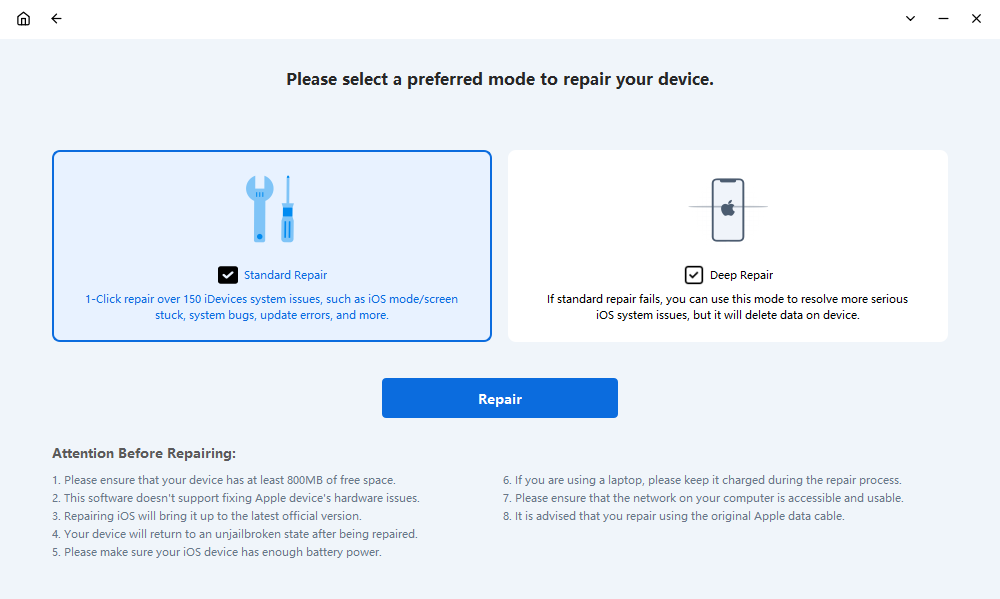
This mode support repairing 150+ iOS system issues, like iOS mode stuck, screen stuck, system bug, update errors and mouch more.
Here are the steps to use Standard Repair mode:
Step 1. Choose "Standard Repair", then click the "Repair" button to continue.
Step 2. You will see your current device's model and version under the Standard Repair mode, next you need to to choose the version of firmware to download, and click "Repair" again. If you already have a firmware, please click "import local firmware" to import manually.
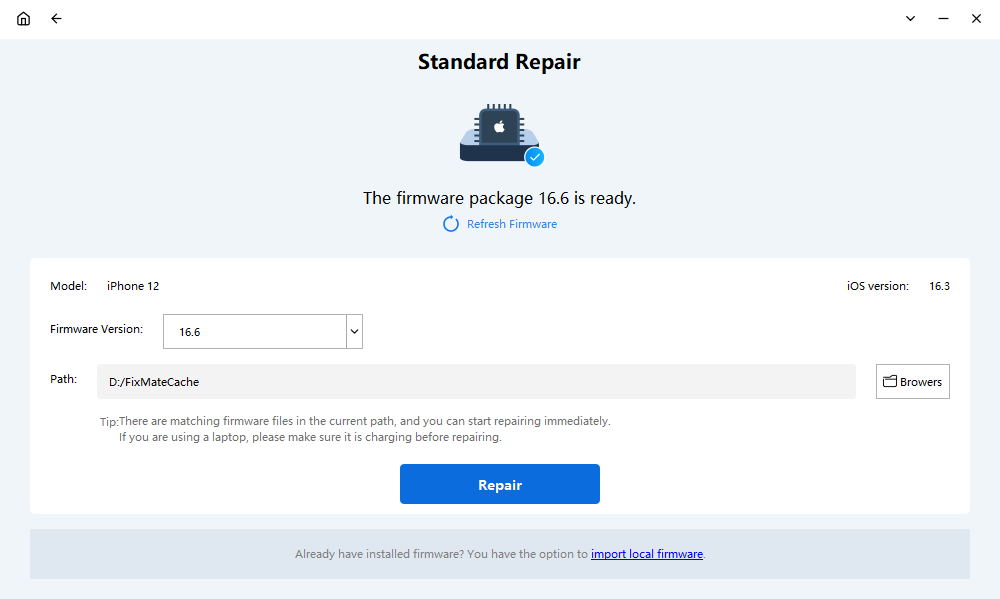
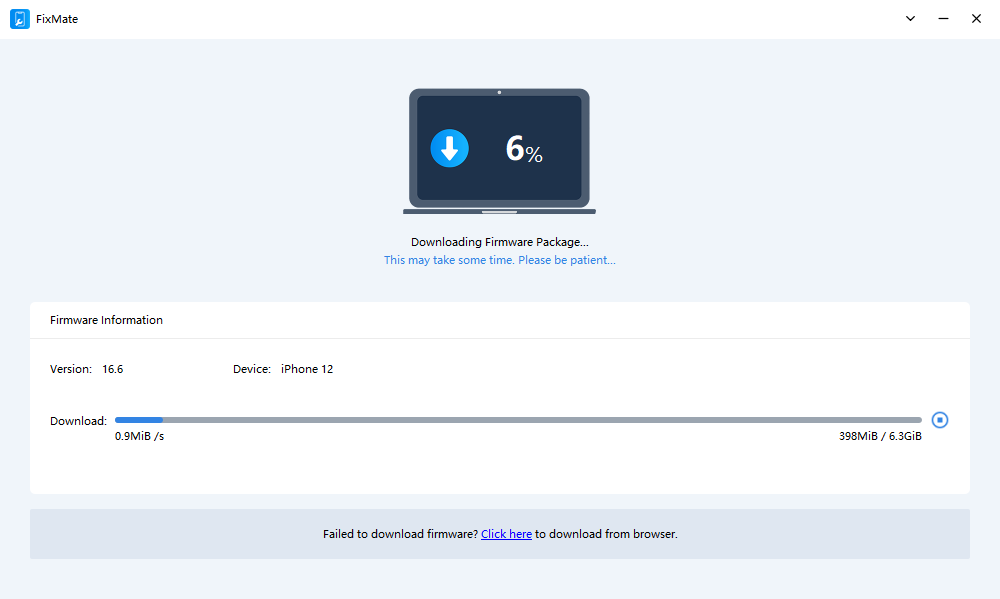
Step 3. FixMate will start downloading firmware package on your computer, and this may take some time. If you failed to download the firmware, you can directly download from browser by pressing "Click here".
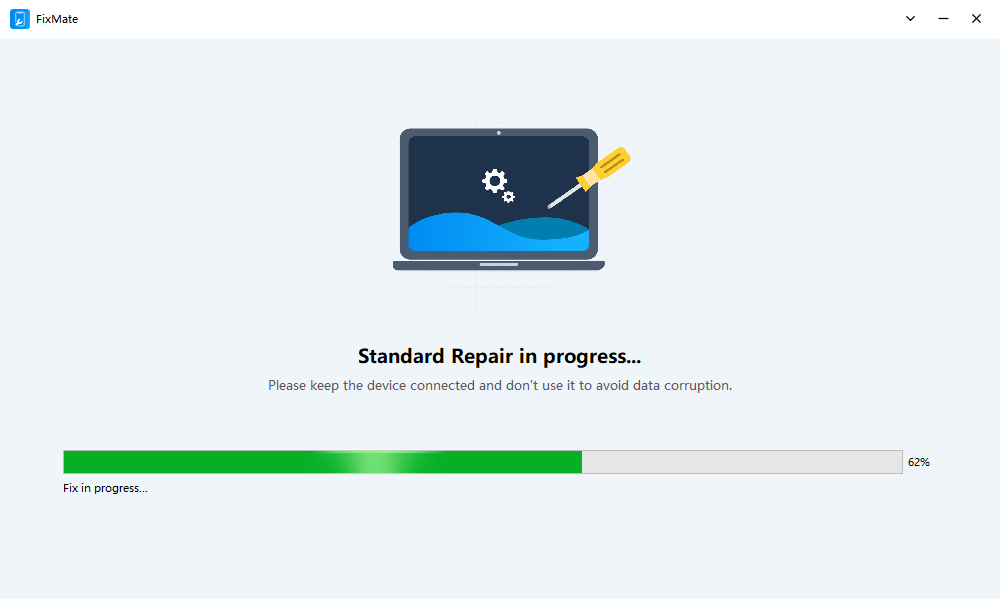
Step 4. After downloading firmware package, FixMate will begin to repair your device. Please keep your device connected during this period to avoid data corruption.
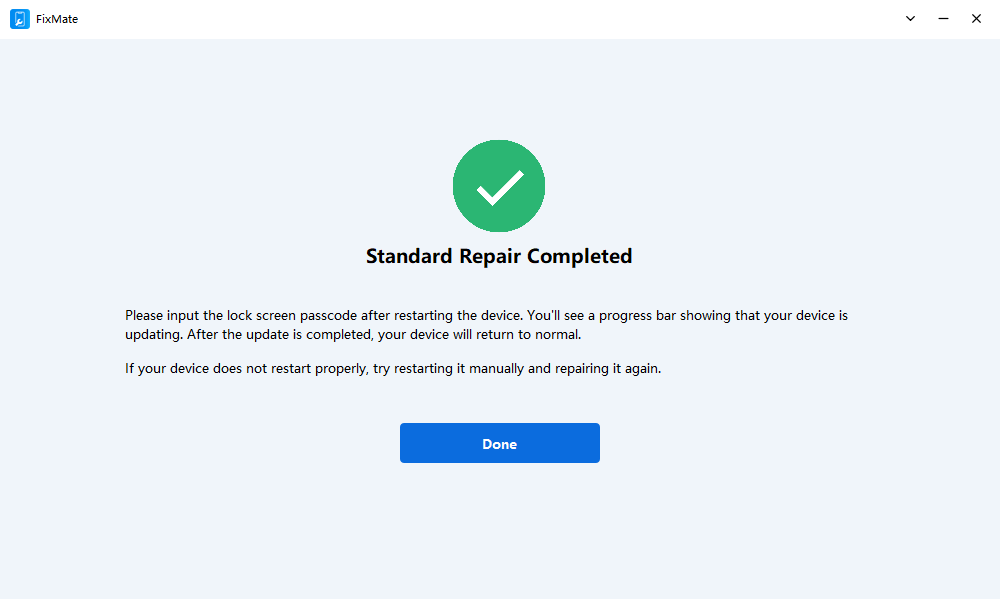
Step 5. Wait a few minutes, FixMate will finish the repairng process and you will see a updating process bar on your device's screen. After apdating, your iDevice will be restarted automatically and you need to enter the password to unlock it.
If "Standard Repair" fails, you can use "Deep Repair" to resolve more serious issues. This mode has a higher success rate but it will delete data on your device. Here are the steps to use Deep Repair mode:
Step 1. Select "Deep Repair" on the iOS System Repair interface, and then click "Repair".
Step 2. "Deep Repair" will erase all dates on the device, so it's recommended to back up your data before deep repairing if your device can be operated. If you're ready, click "Repair" and confirm to continue the deep repairing process.

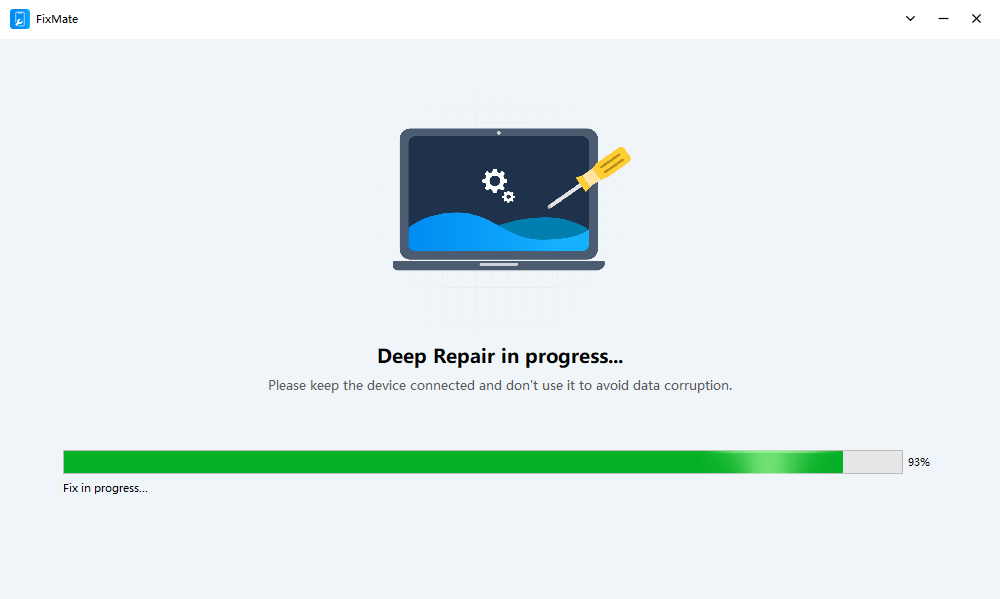
Step 3. FixMate will start deep repairing your device. It's also required to keep the device connected during this time.
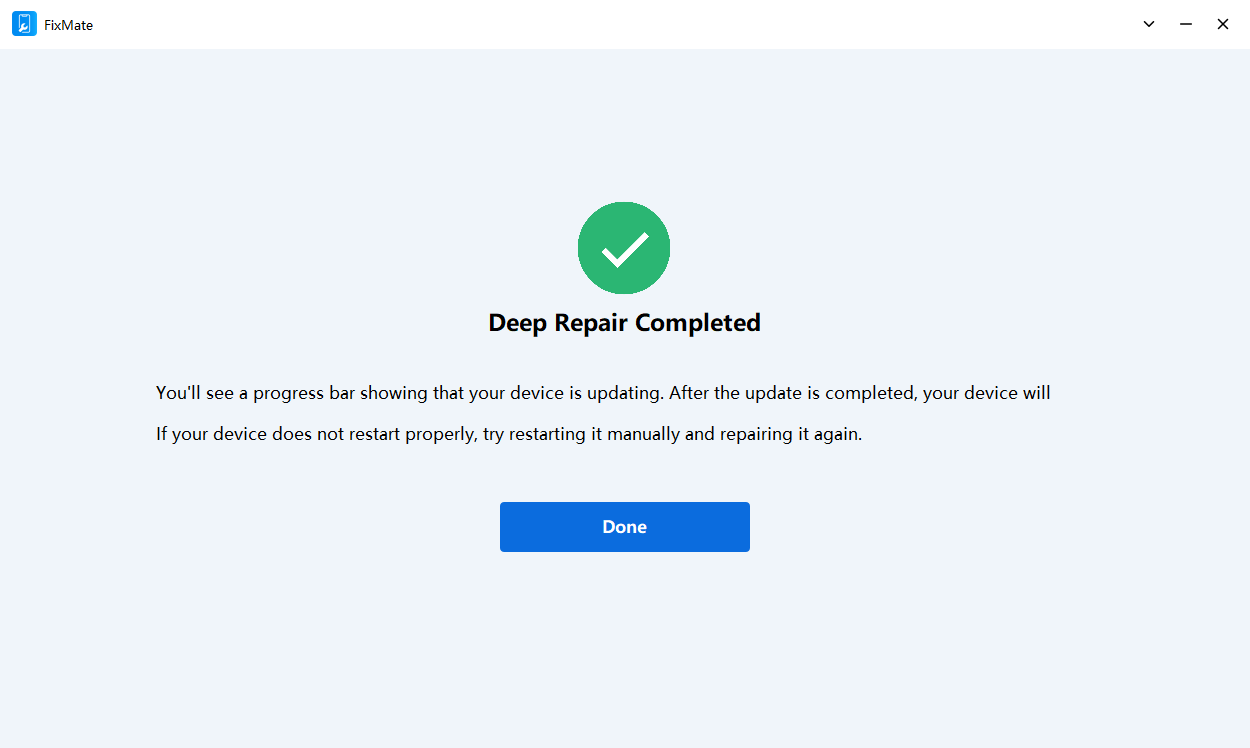
Step 4. After a while, the "Deep Repair" will be completed, and you will see a process bar that shows your device is updating. After this updating your device will be restored to normal, and you can use the device without a password.
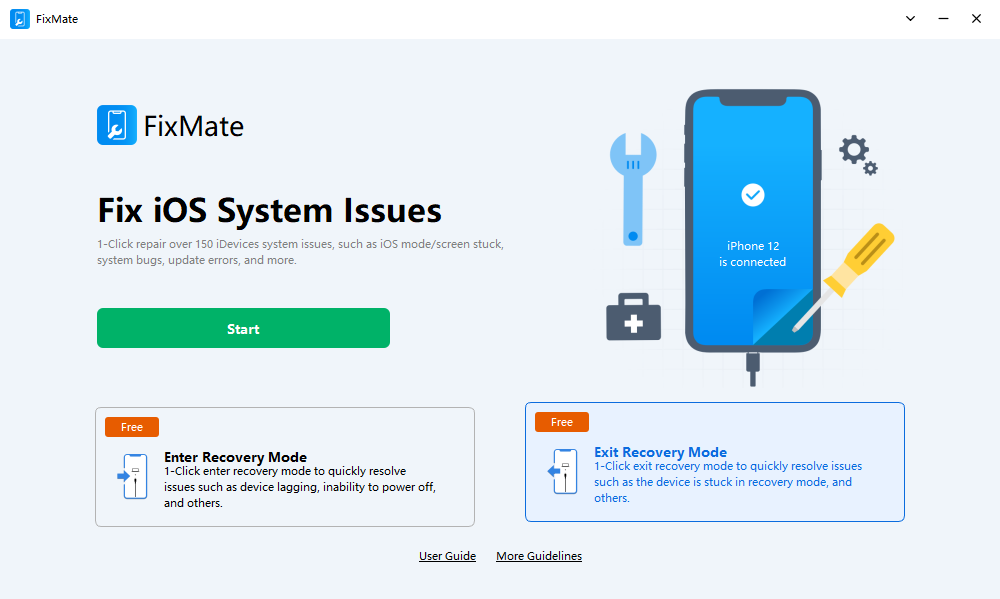
5. Enter/Exit Recovery Mode
AimerLab FixMate support entering and exiting the recovery mode with just one click, and this faeture is totally free for all users.
Here are the steps to enter/exit recovery mode with FixMate:
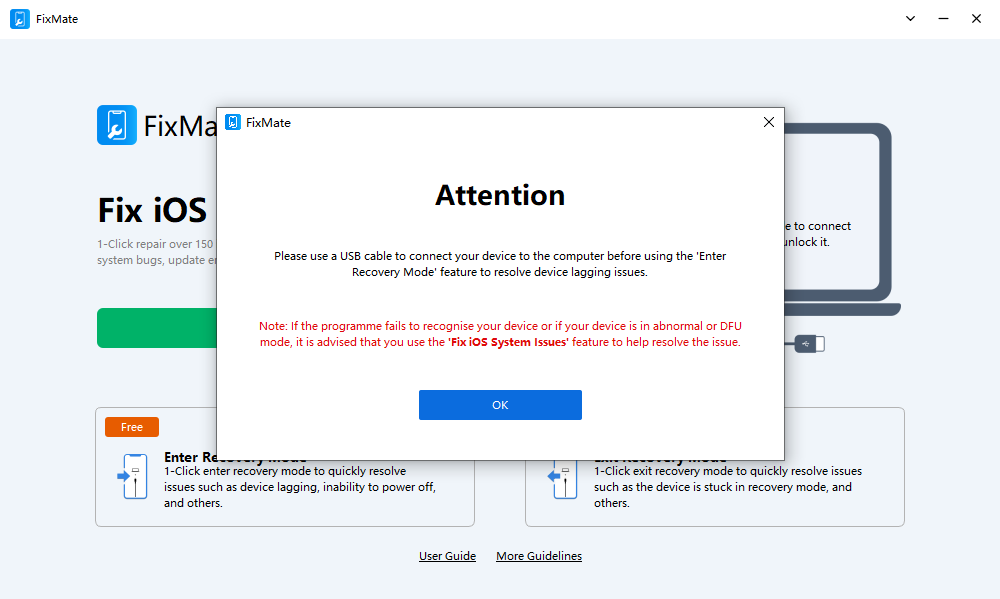
Step 1. Before using this feature, please use a USB cable to connect your device to computer.
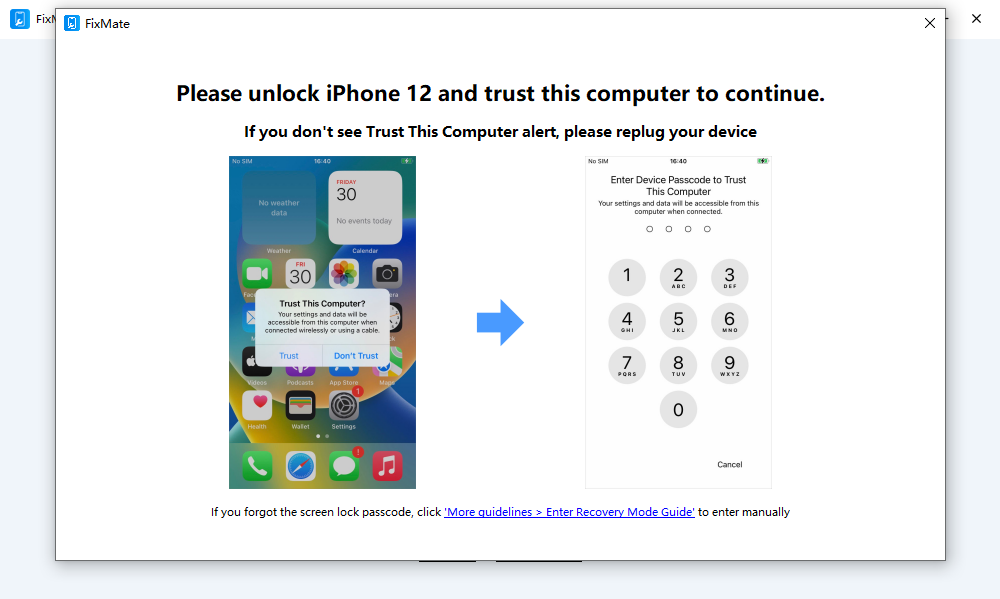
Step 2. If you are using iPhone 8 or above, you need to enter passcode on the device to trust this computer.
Step 3. Back to the FixMate main interface, and click "Enter Recovery Mode".

Note: If you failed to use FixMate's Enter Recovery Mode, please go to "More Guidelines" and follow the instructions on the interface to enter the recovery mode manually.
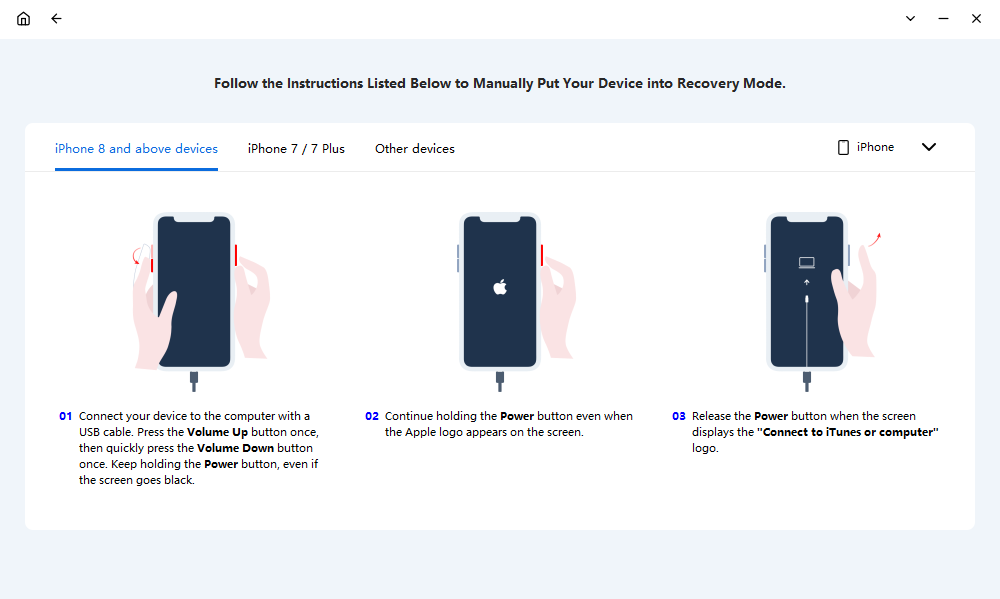
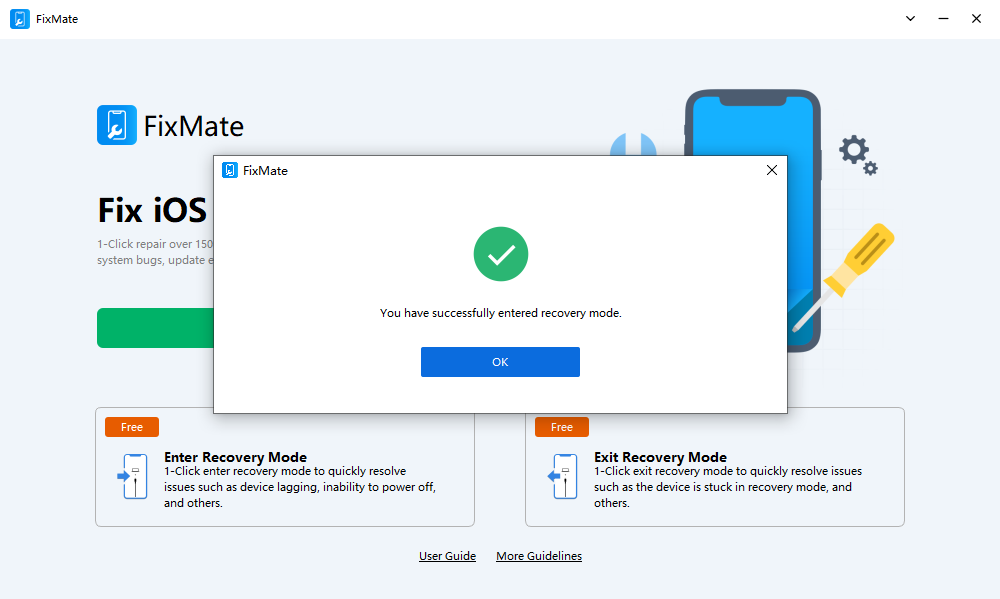
Step 4. Your device will enter the recovery mode within a short time, and you will see the "connect to iTunes or Computer" logo on the screen.
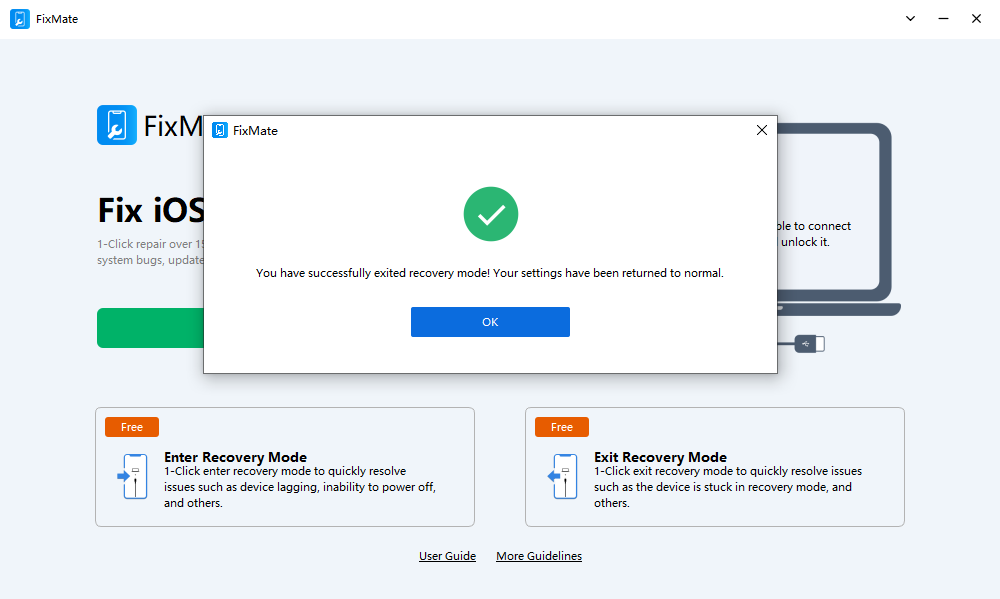
Step 1. To exit, just click the "Exit Recovery Mode" on the main interface.
Step 2. Your device will exit the recovery mode successfully in seconds, and it will reboot to normal state.